<--! !-->

<--! !-->
Showing posts with label diy. Show all posts

Sunday, June 14, 2015

SYDMAKES: SWEET AS HONEY ICE CREAM

It's been a real good weekend so far. Even if the weather here in Las Vegas has been in the 100s, it's still a good day indoors. 100 degree weather calls for something cold and maybe sometimes something creamy. A few weeks ago, I made this really interesting flavored ice cream from Ample Hills Creamery's cookbook. The Sweet as Honey ice cream was a brand new flavor to me, thanks to the honey comb mix-ins. Anywho, let's get on with the recipe. 
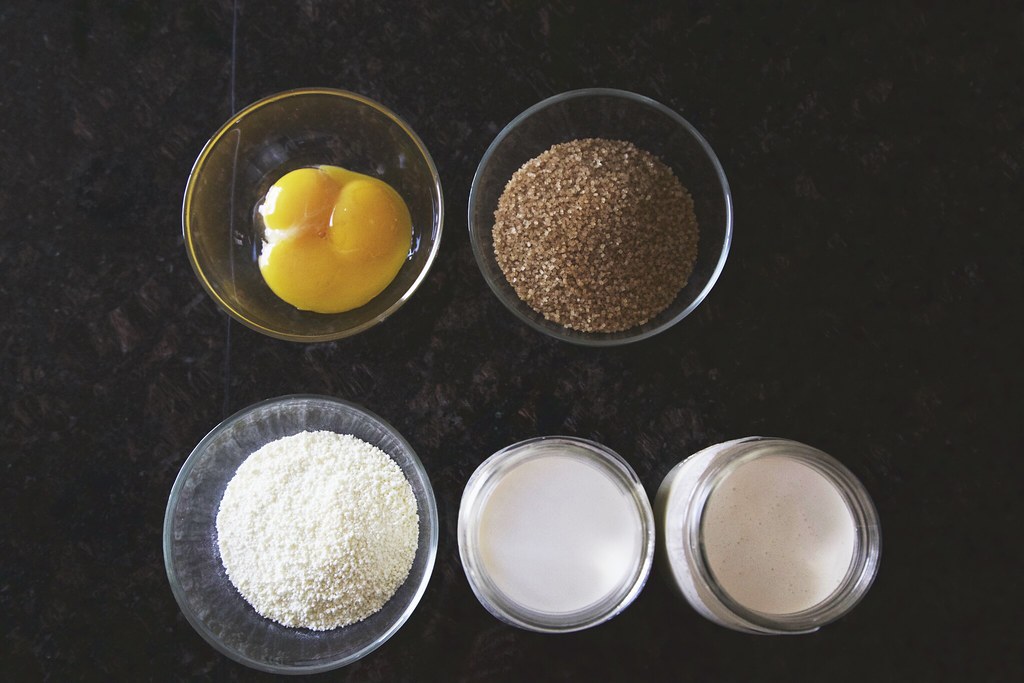

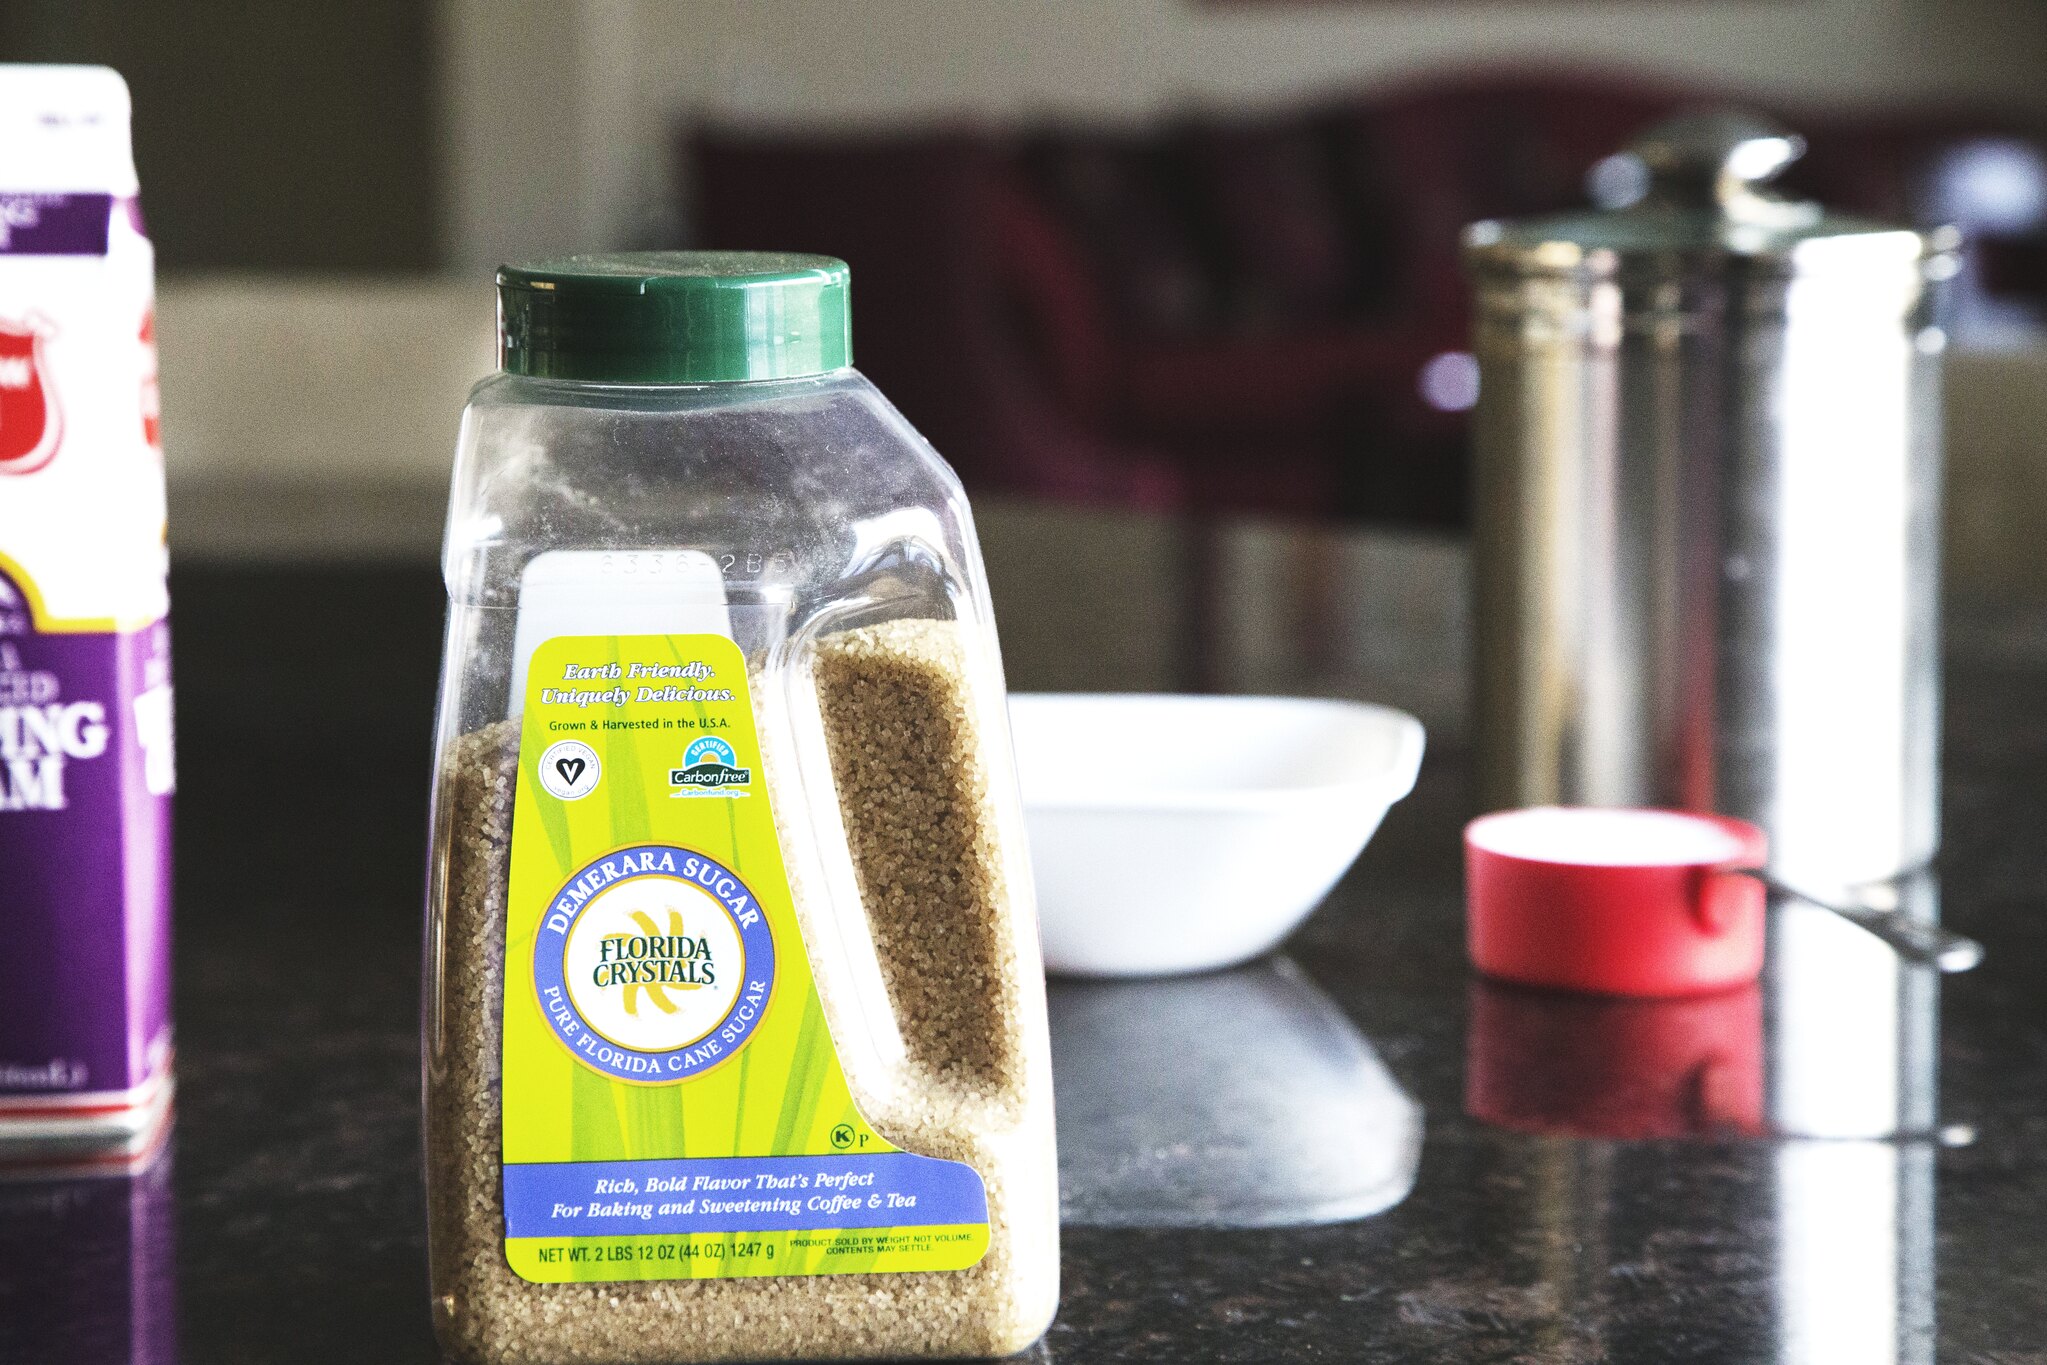
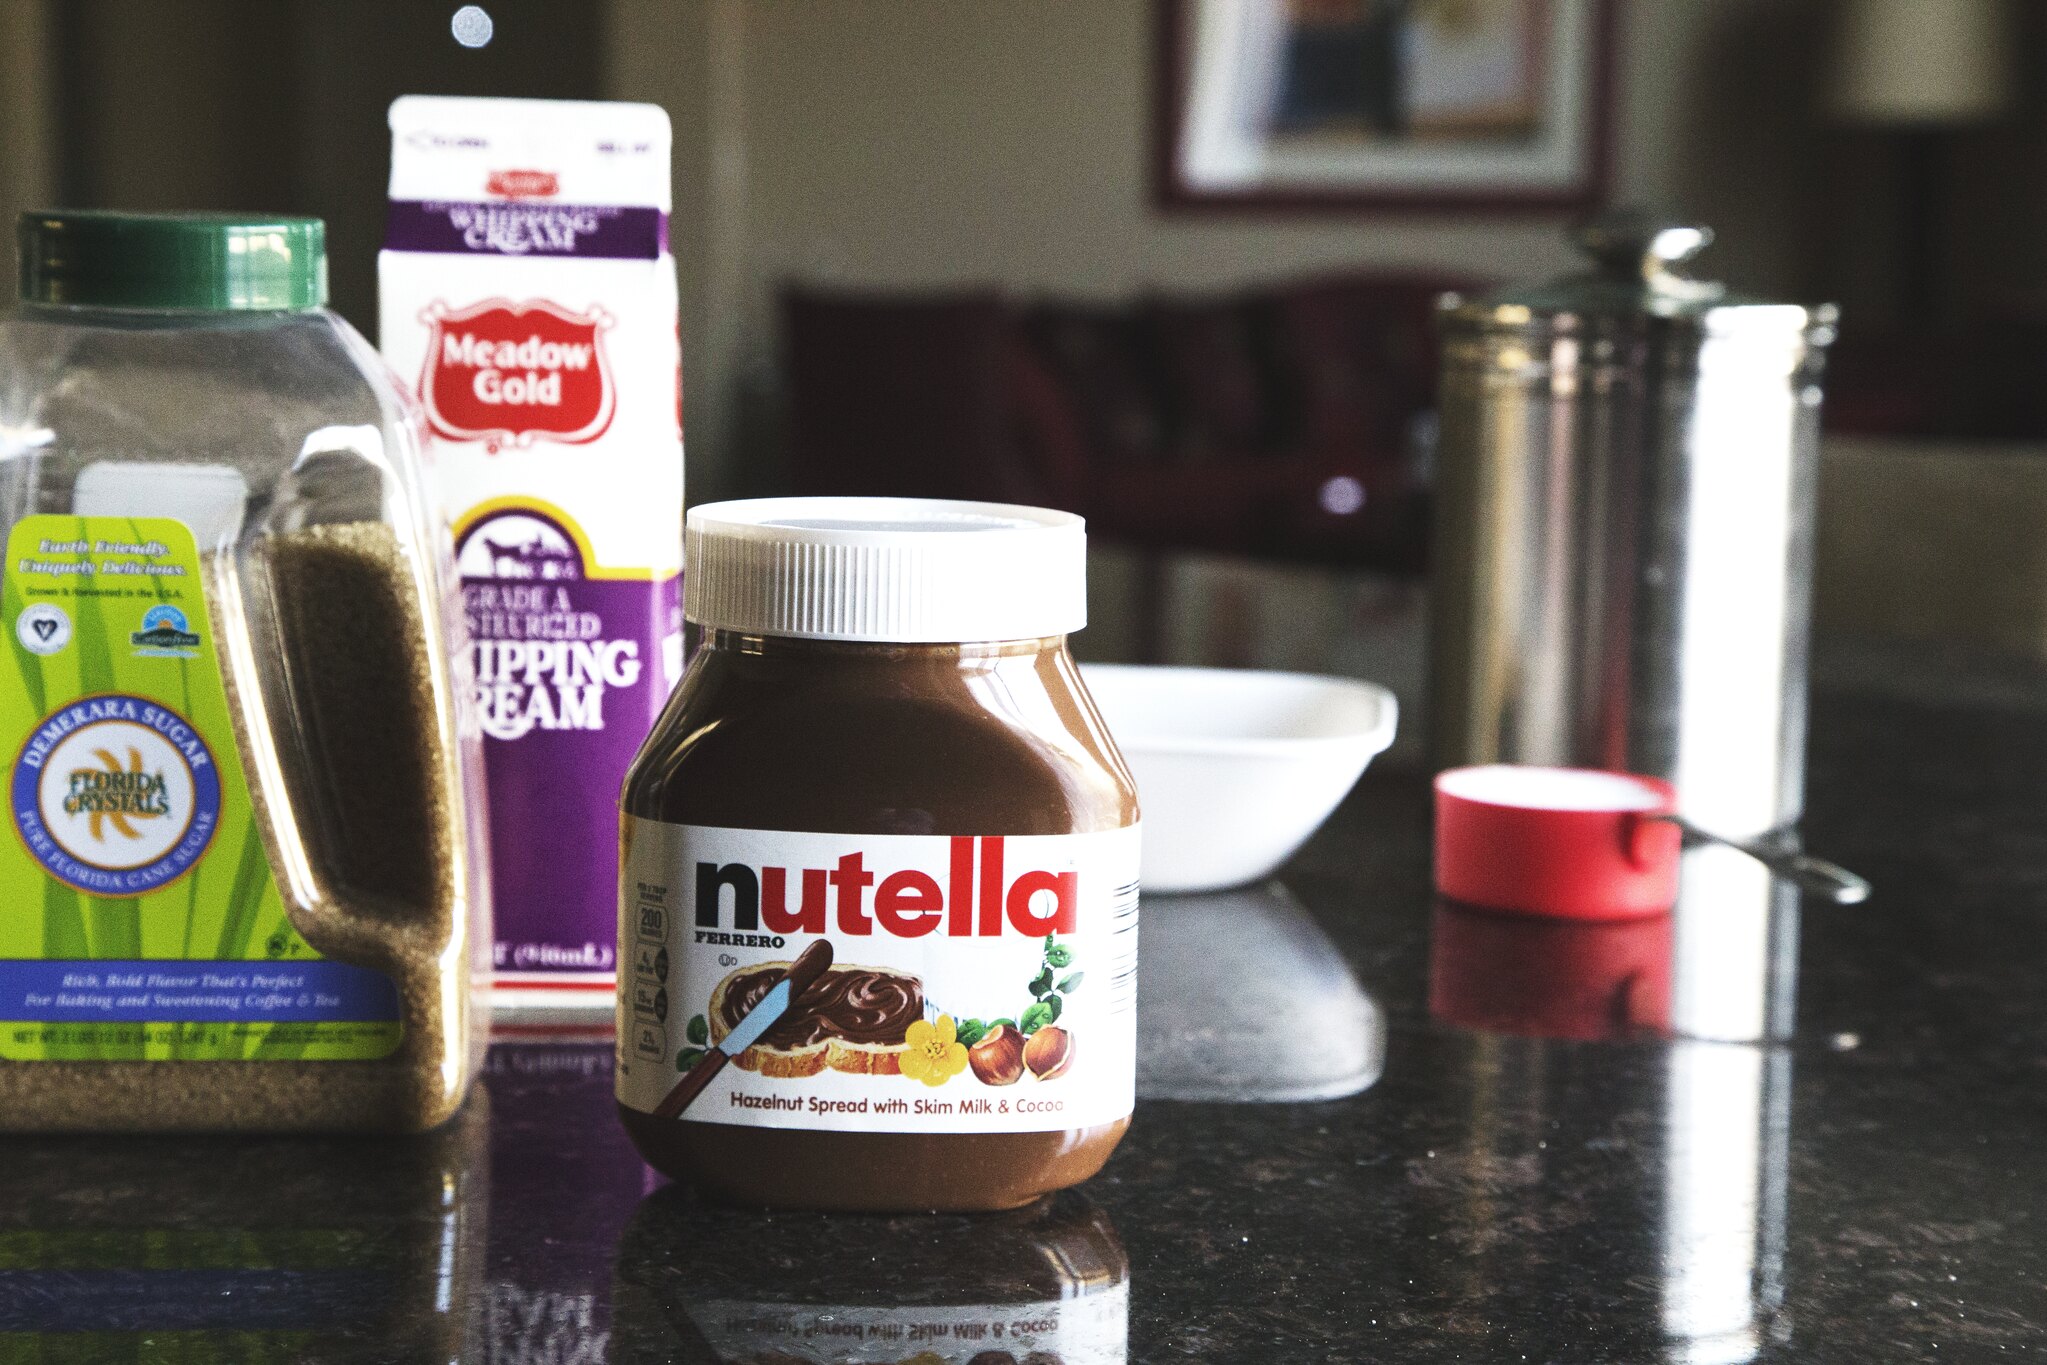
3 egg yolks, 3/4 cup of organic cane sugar (I had organic cane demerara sugar, still had the same effect), 1/2 cup of skim milk powder, 1 2/3 cup of whole milk, and 1 2/3 cup of heavy cream. 

Making ice cream is not a new thing to me, but adding in milk powder was something completely different. I read in the cookbook that by adding the milk powder, it thickens the recipe and adds to the creaminess. 


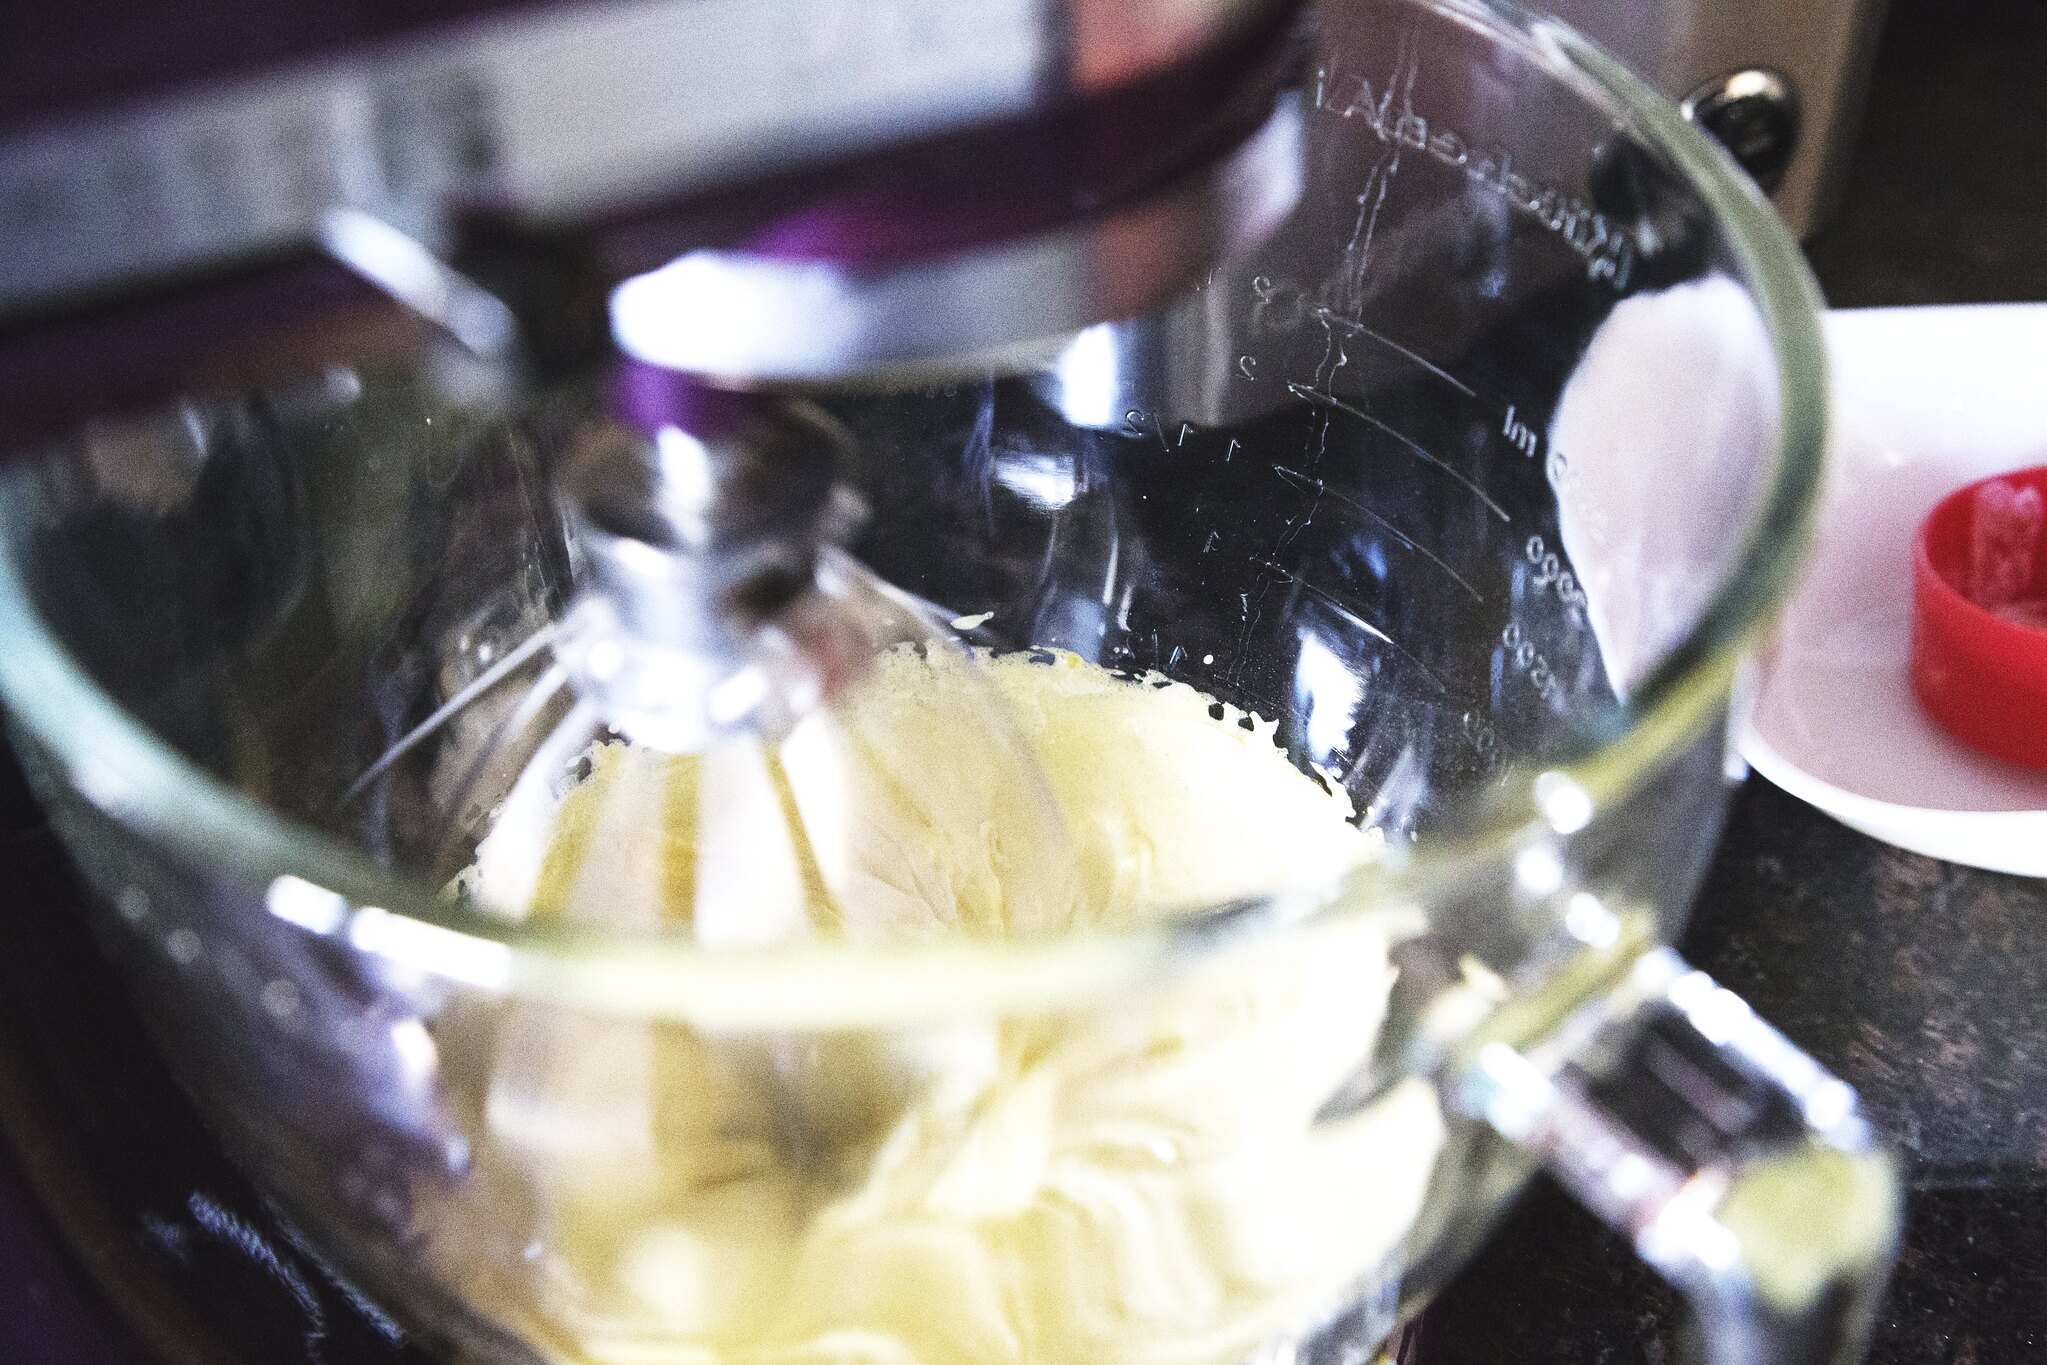
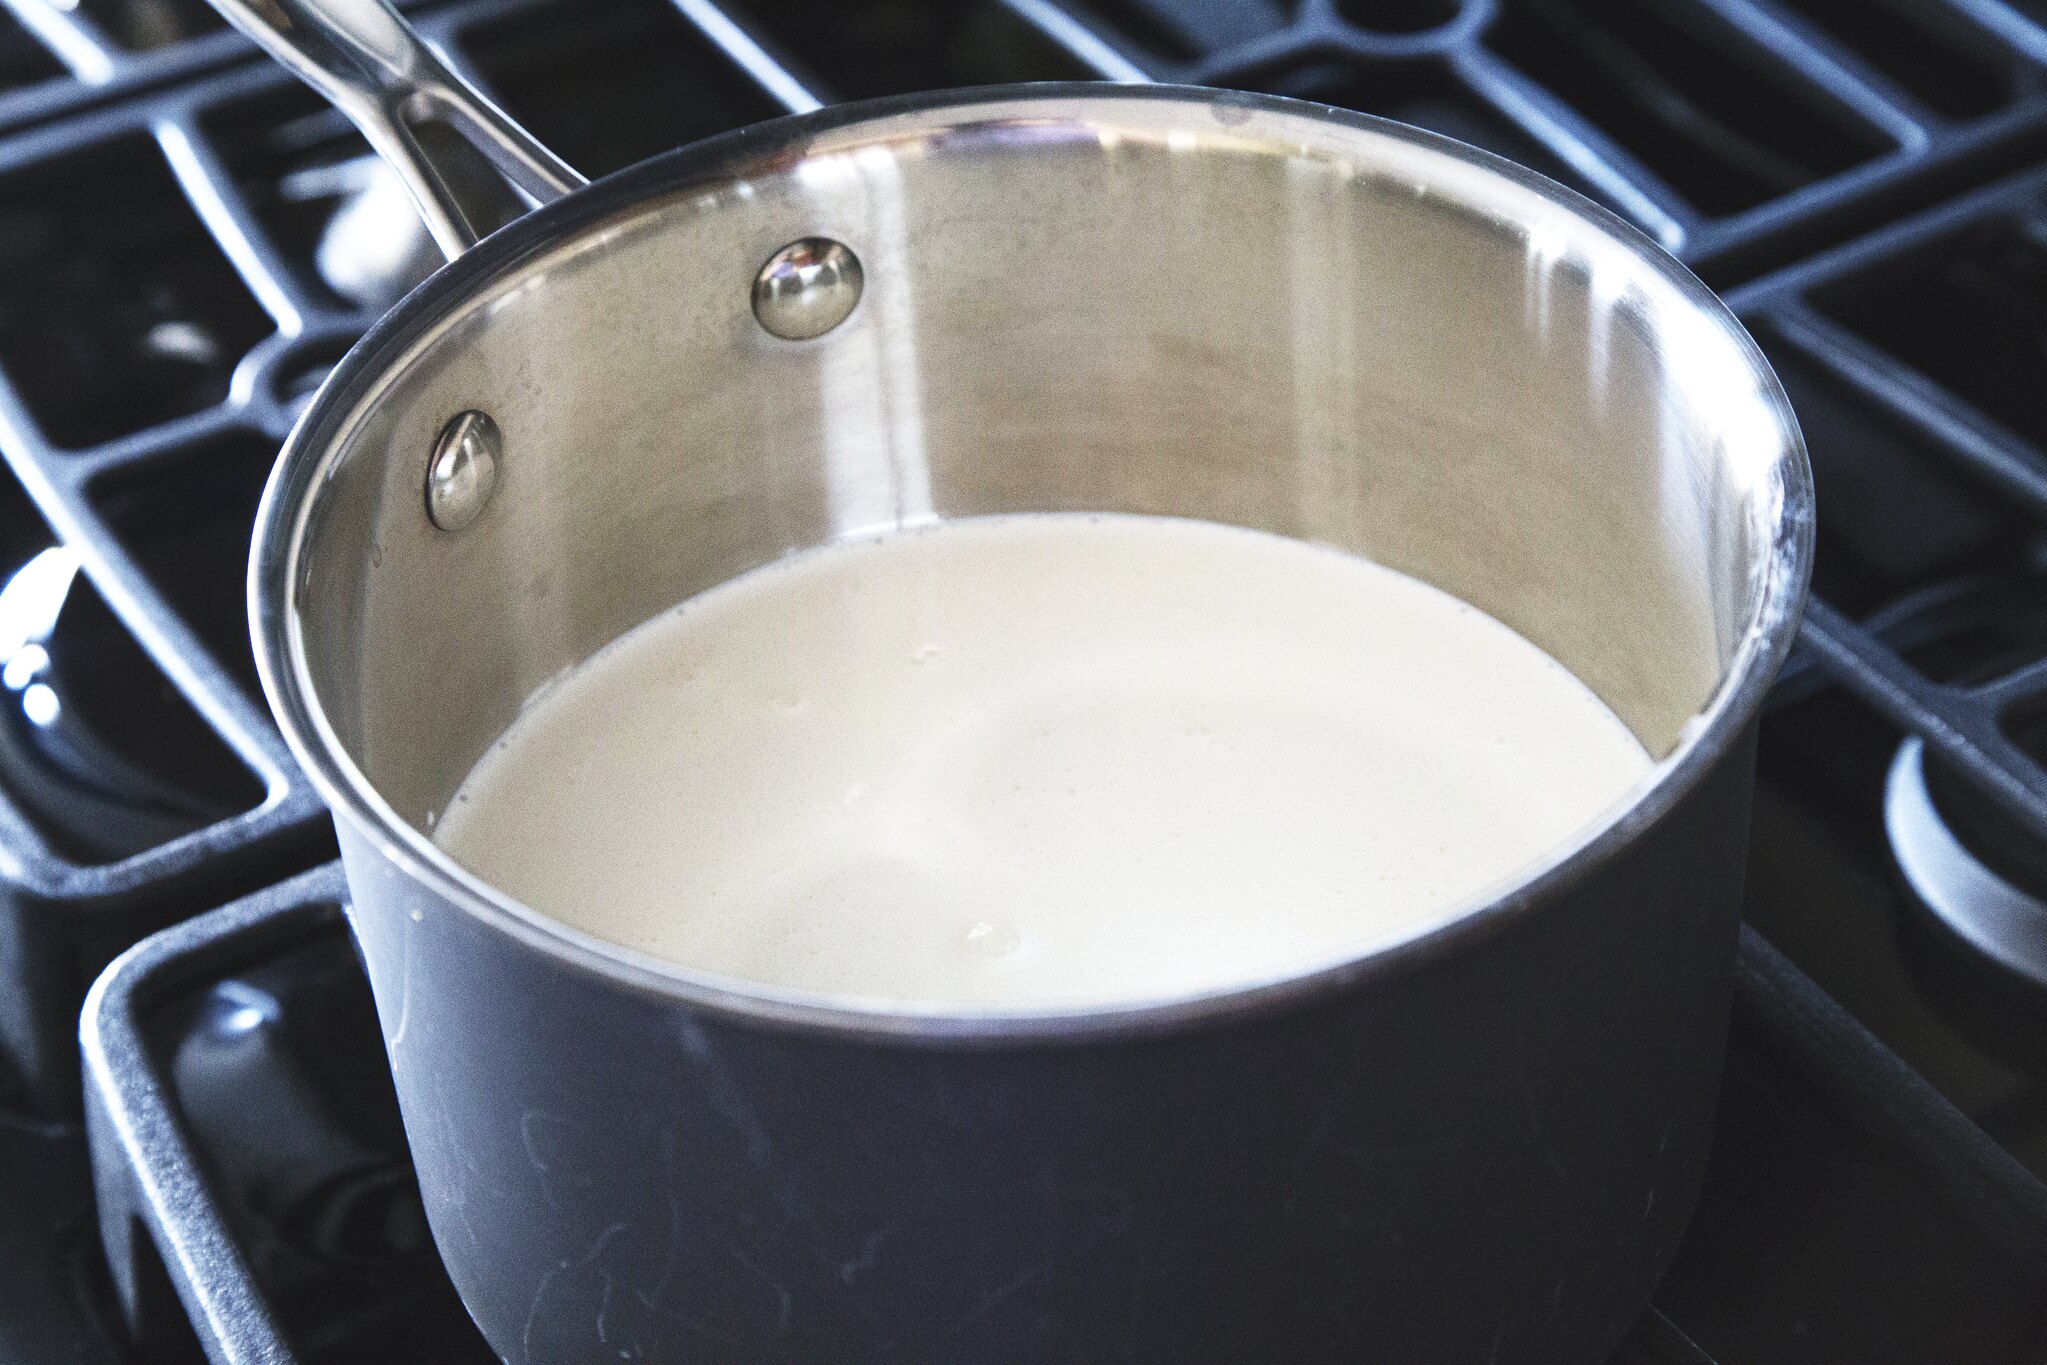
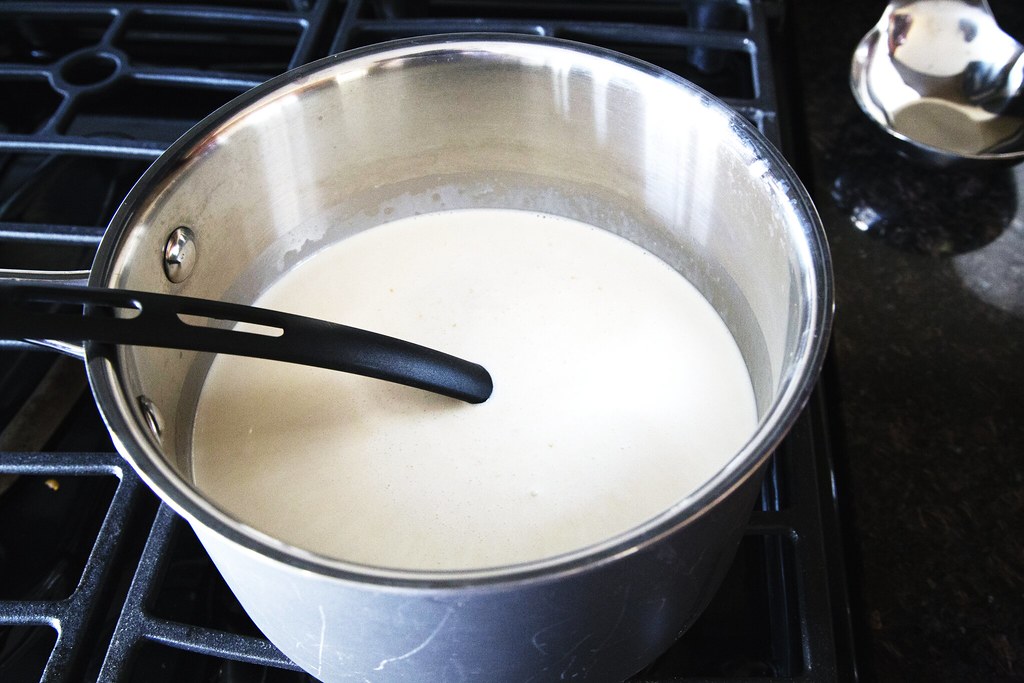
Mix in the milk, milk powder, and sugar. Mix until all the milk powder has dissolved then stir in the cream. Clip a candy thermometer and stir, when the heat reaches 110 degrees Fahrenheit, turn the heat off. Now this is where the egg yolks come in. Normally I just throw the egg yolks in and stir until it's of a custard-y texture, but the recipe called to temper the eggs. Pour some of the mixture into your egg yolks and stir until all dissolved and thoroughly combined. Pour it back into the cream mixture, clip the candy thermometer, and return to the stove on medium heat. When the temperature reaches 165 degrees Fahrenheit, you're good. 

Prepare an ice bath in your sink, and transfer the cream mixture there to rapidly cool down. 


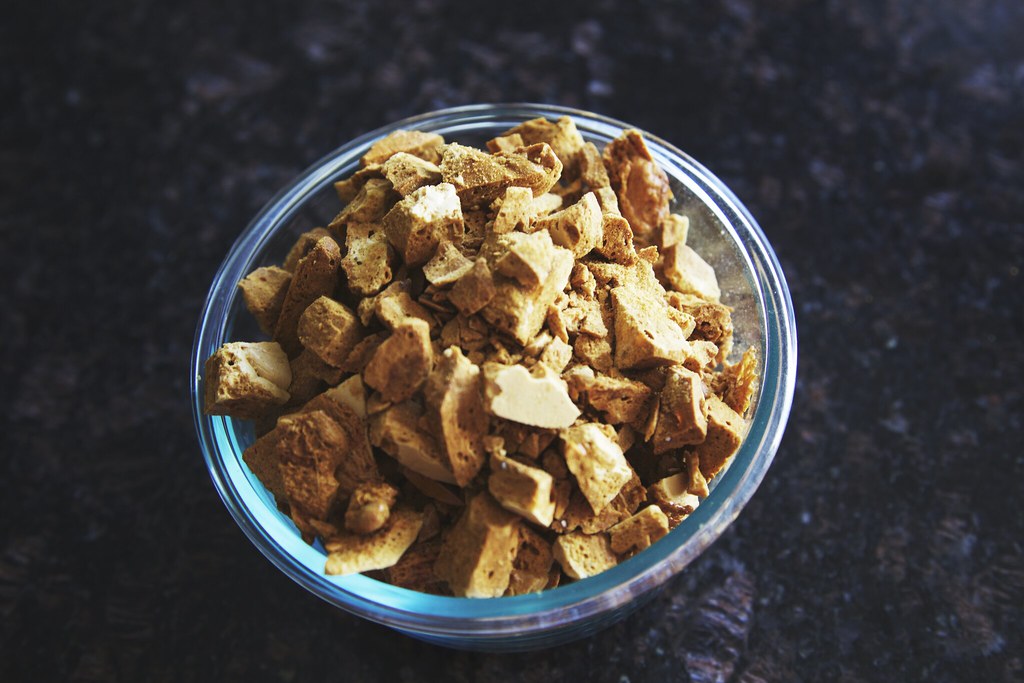
Now this was where my favorite part was, making the honeycomb. 


2 cups of organic cane sugar (again, I used demerara, same effect) 1/4 cup of honey, 7 tablespoons of golden syrup, and 1 tablespoon plus 1 teaspoon of baking soda. 

Golden Syrup is something I could not find for the life of me find in my local grocery store, so I looked up alternatives to it. I read somewhere that if you mix equal parts honey, to equal parts corn syrup, you mostly get the same effect. I did exactly that and for the most part, it worked out well.

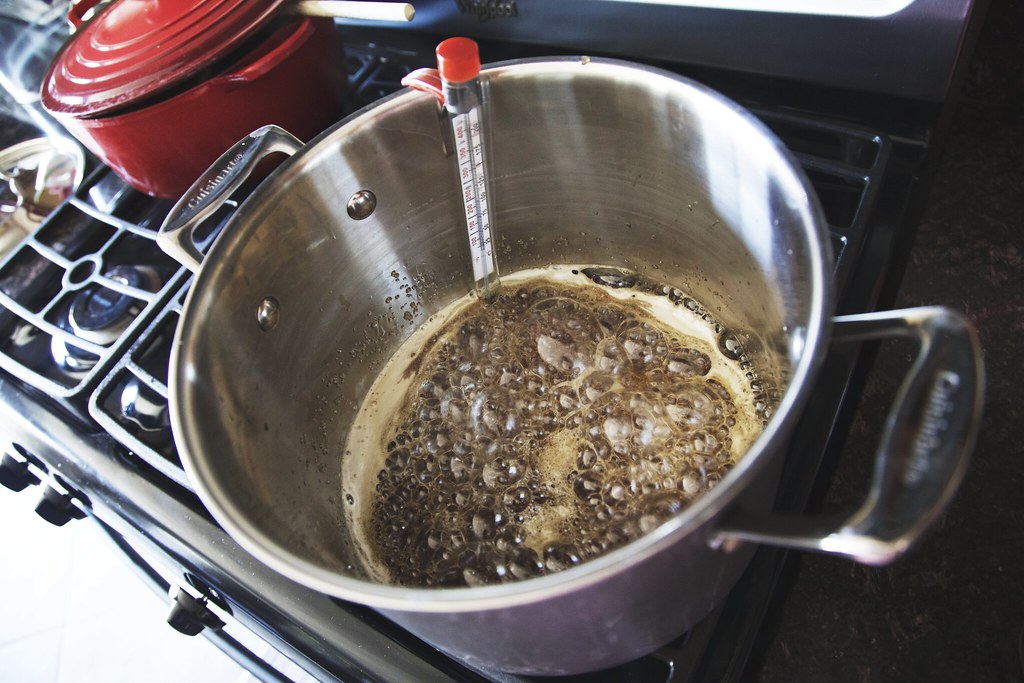
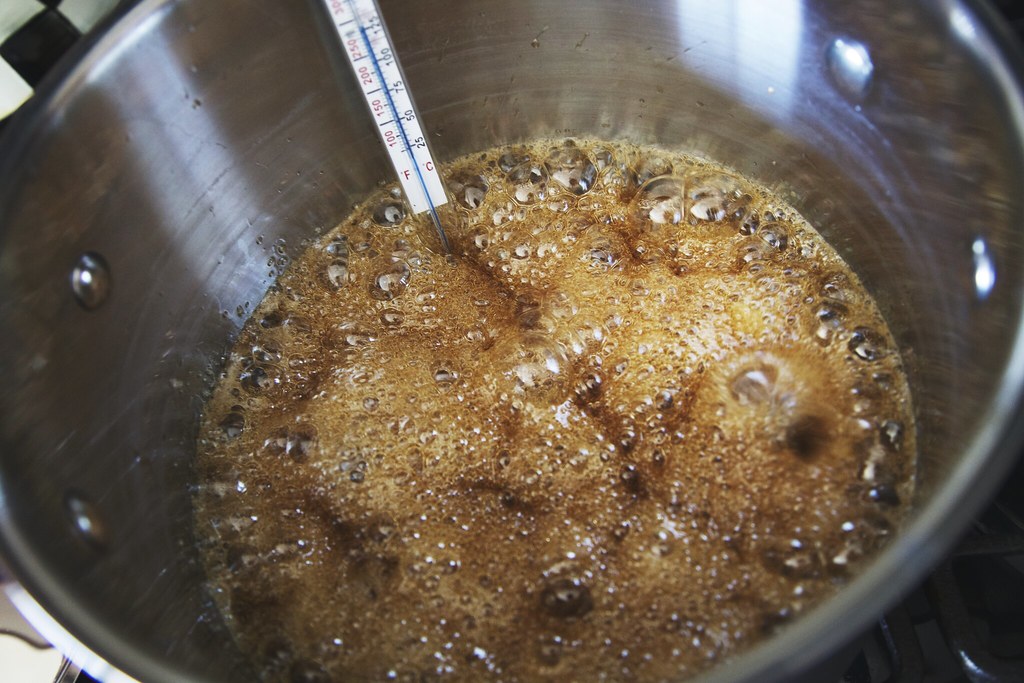
In a large saucepan, whisk to combine the sugar, honey, and golden syrup mix with 2/3 cup of water. Clip a candy thermometer in and set the heat to medium-high. Continue cooking until the mixture hits 305 degrees Fahrenheit. Do be careful, the mixture will spit and bubble so as much as you can, stir as quick as possible to avoid getting burns.  

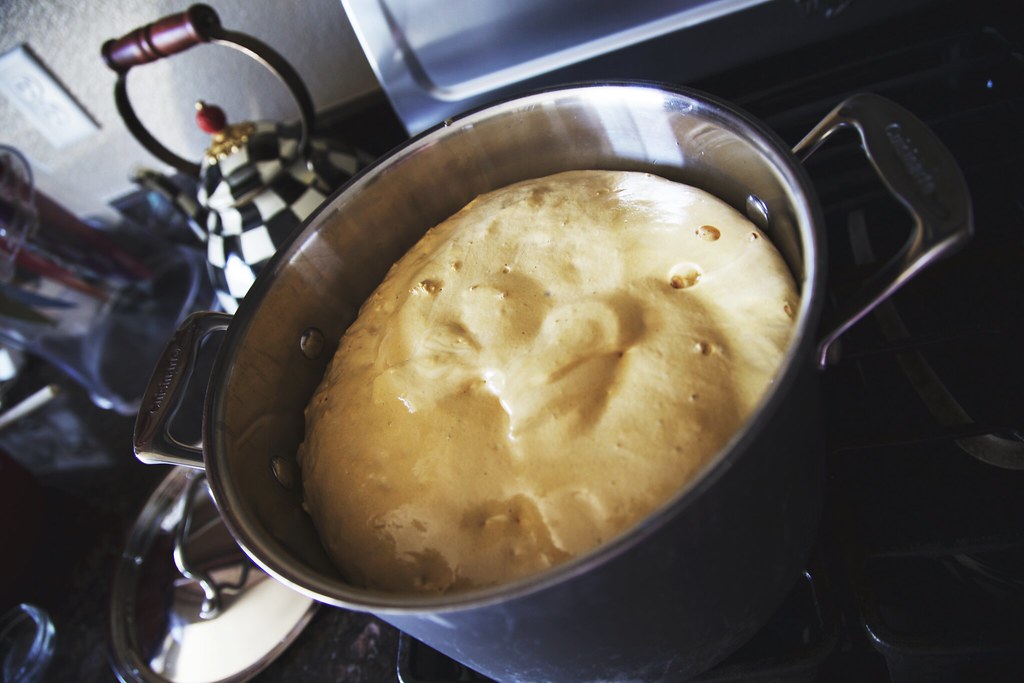
Once it hits 305 degrees, take it off the flame and with a whisk, vigorously mix in the baking soda for a few moments, and watch.
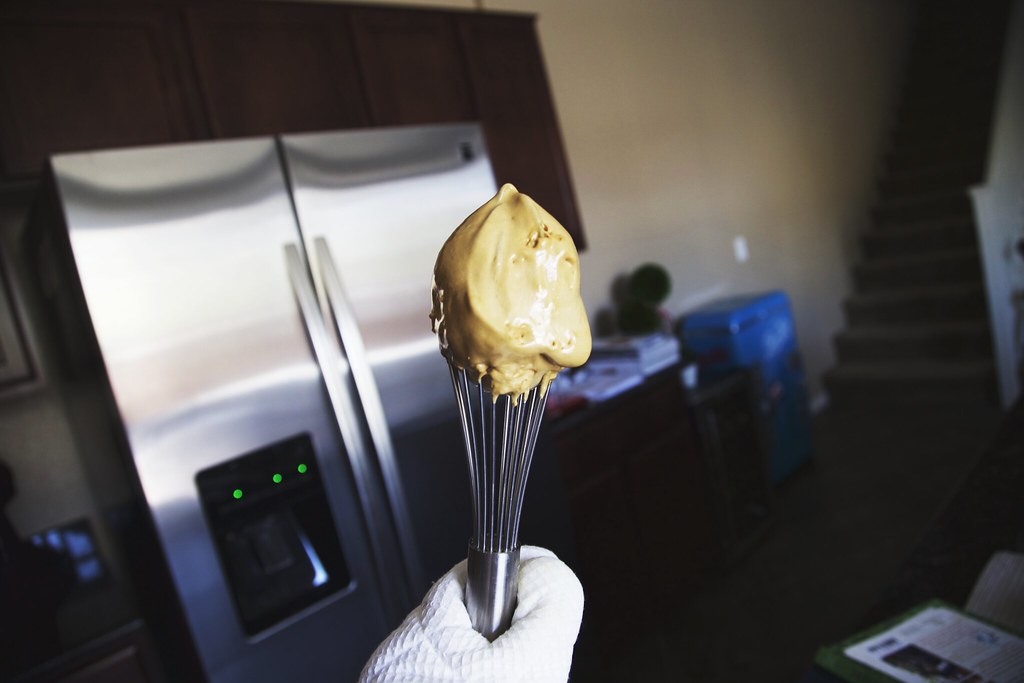
My whisk looked really cool, lol. 
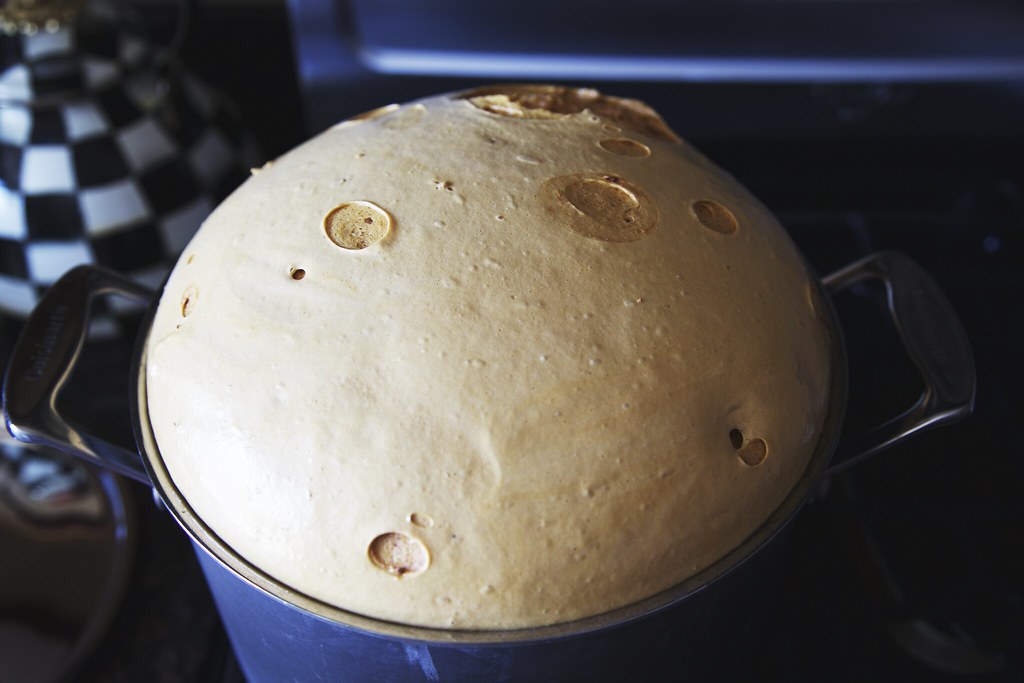

The honeycomb mixture will stop growing at this point and look like the surface of the moon. 

I forgot to take a picture of when I transferred this to a buttered cookie sheet lined with parchment paper, so just imagine!! When I transferred it to the cookie sheet, I spread it evenly and quickly to avoid it solidifying immediately. I placed it in the fridge and let it cool for 30 minutes. 
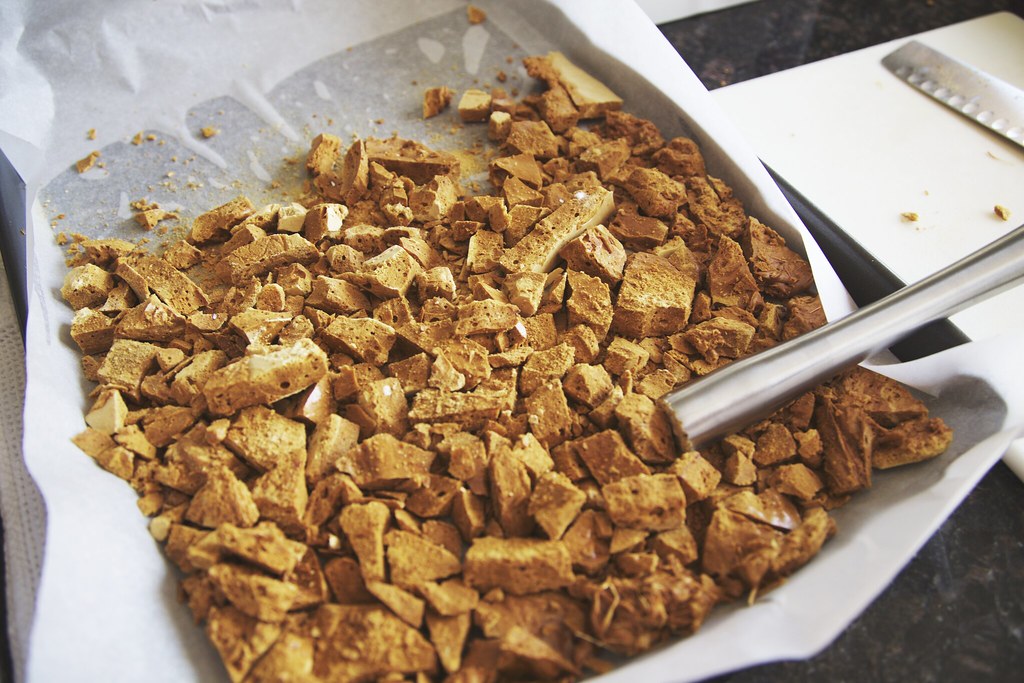

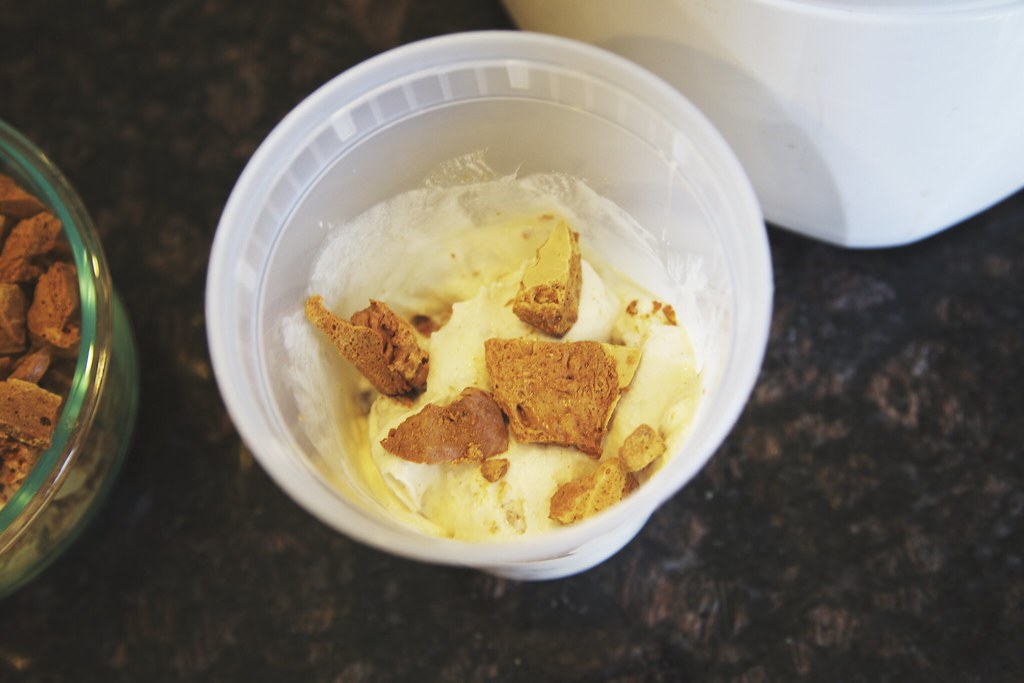
I crushed up the pieces and let it aside for a bit. I just kind of wish I crushed them up a bit smaller, so that when I incorporated it into the ice cream, it'd be a bit more even. 
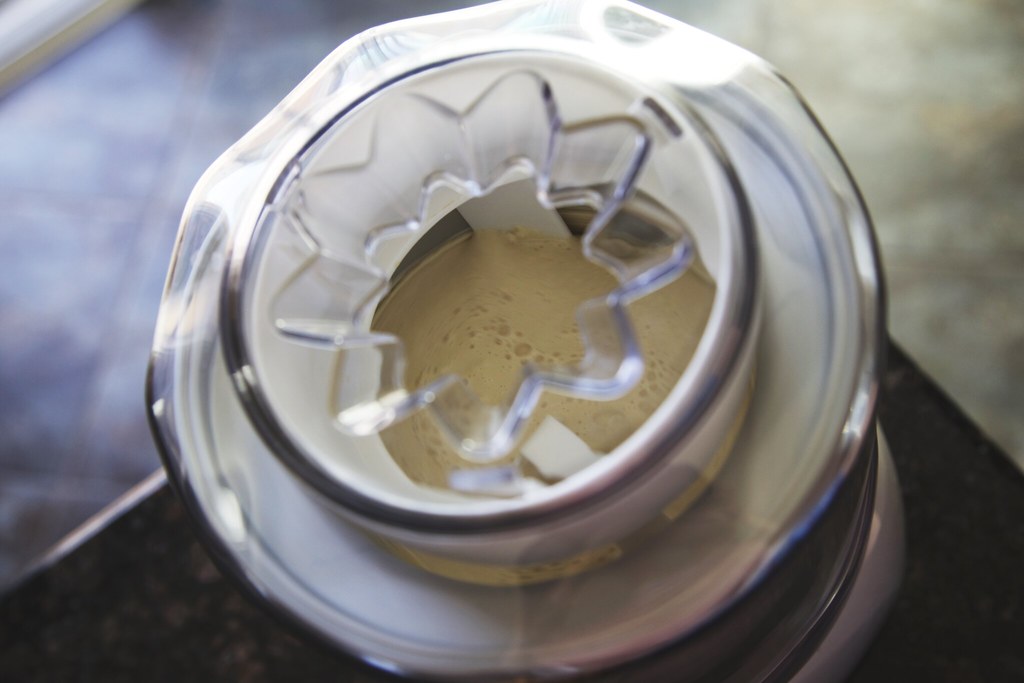

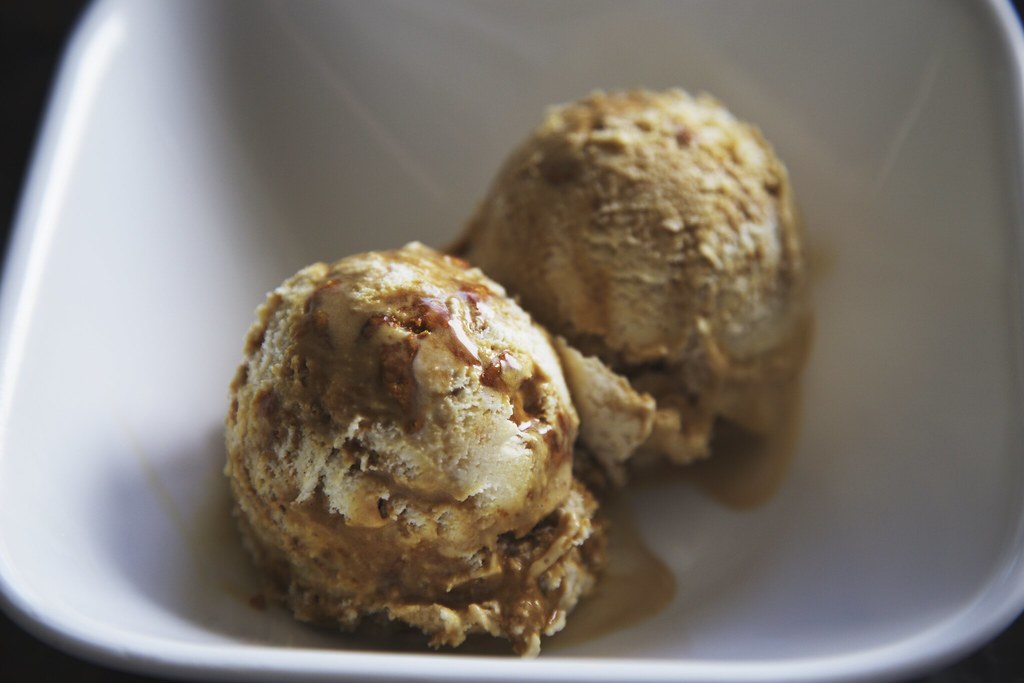
Well there you have it! Ample Hills Creamery's Sweet as Honey Ice Cream. To describe the taste, think of it as sweet like honey (lol), creamy, and with a crunch thanks to the honeycomb mix-ins. The taste of the honeycomb is very sweet, a little bitter because I think I cooked it a bit too long, and very sticky. Try this recipe out for yourselves and tell me how it goes, or tell the people of Ample Hills Creamery. 

For more information on Ample Hills Creamery, click here

Thank you for reading!

.s

Tuesday, June 2, 2015

HOWTO: Cardboard Deer Mask

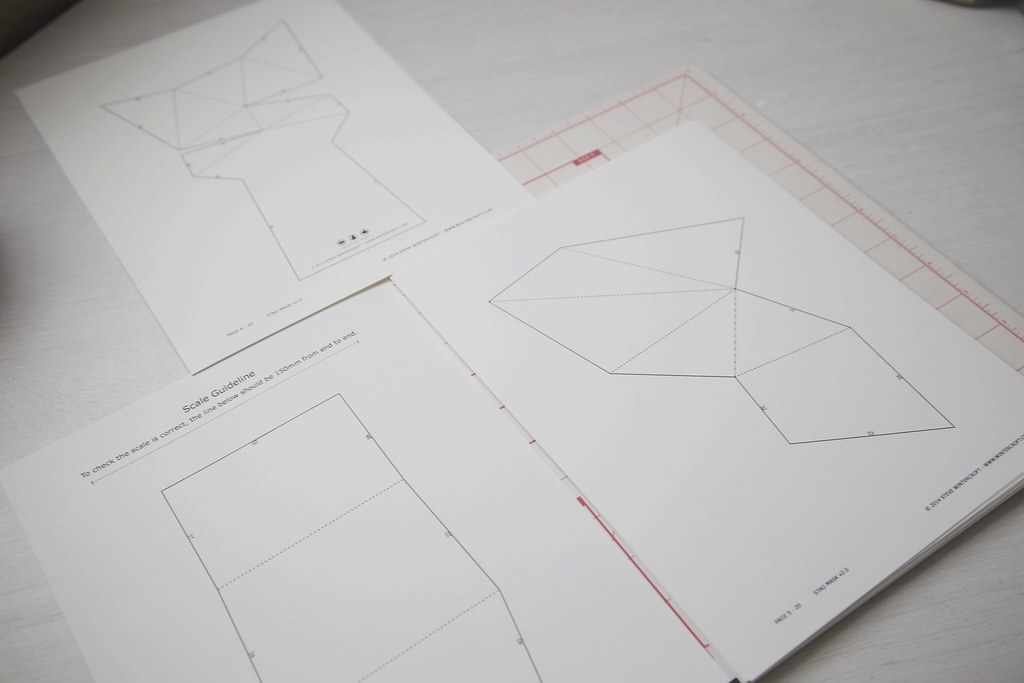
A few months back I discovered this wonderful etsy store called Wintercroft. Based in the UK, Wintercroft is run by husband and wife Steve and Marianne Wintercroft. They sell probably some of the most aesthetically pleasing animal masks I've ever seen, but here's where things get interesting. You don't actually buy the mask, you buy the template in order to create it. I love the hands on experience Wintercroft delivers. I also love their standing on recycling and helping the environment. 
Wintercroft believes that "by supplying the templates digitally and enabling people to build the masks themselves, no energy is wasted in both manufacturing or shipping. The masks are intended to be built from discarded, reused or recycled card. For example old cereal boxes are ideal. When you have finished with your mask you can strip the tape off and throw it in with the recycling."

Anything that's hands on and good for the environment, I'm in.

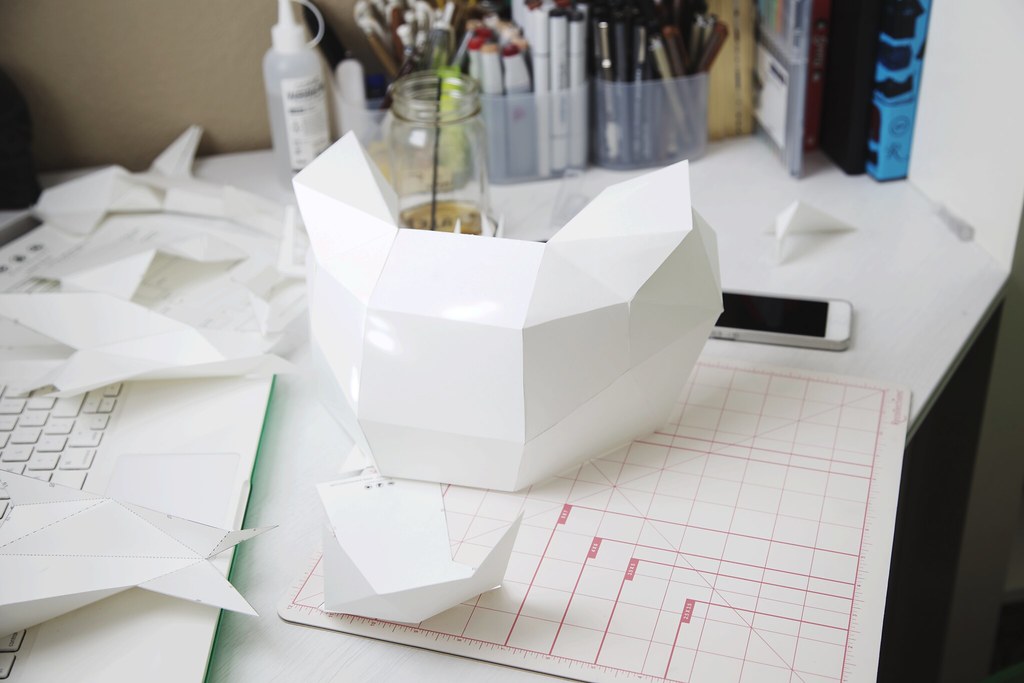
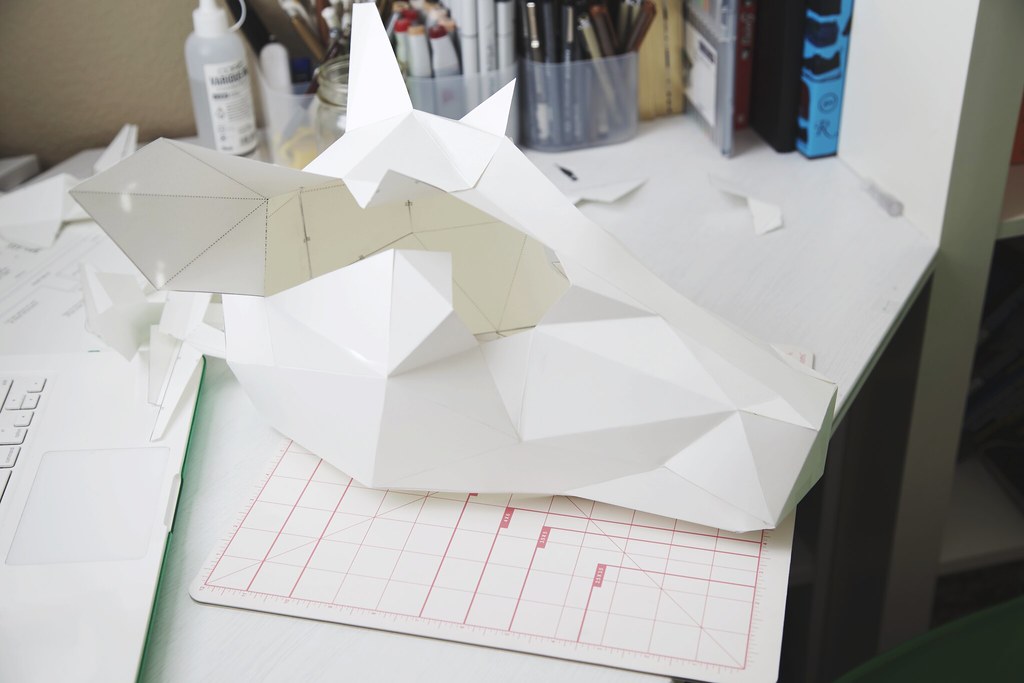
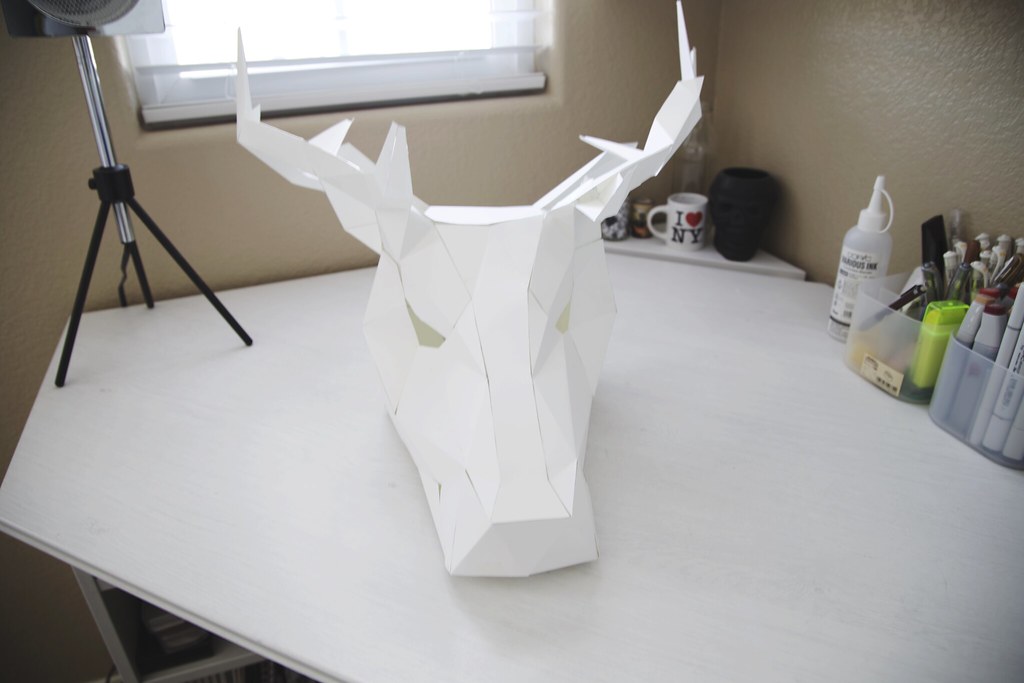
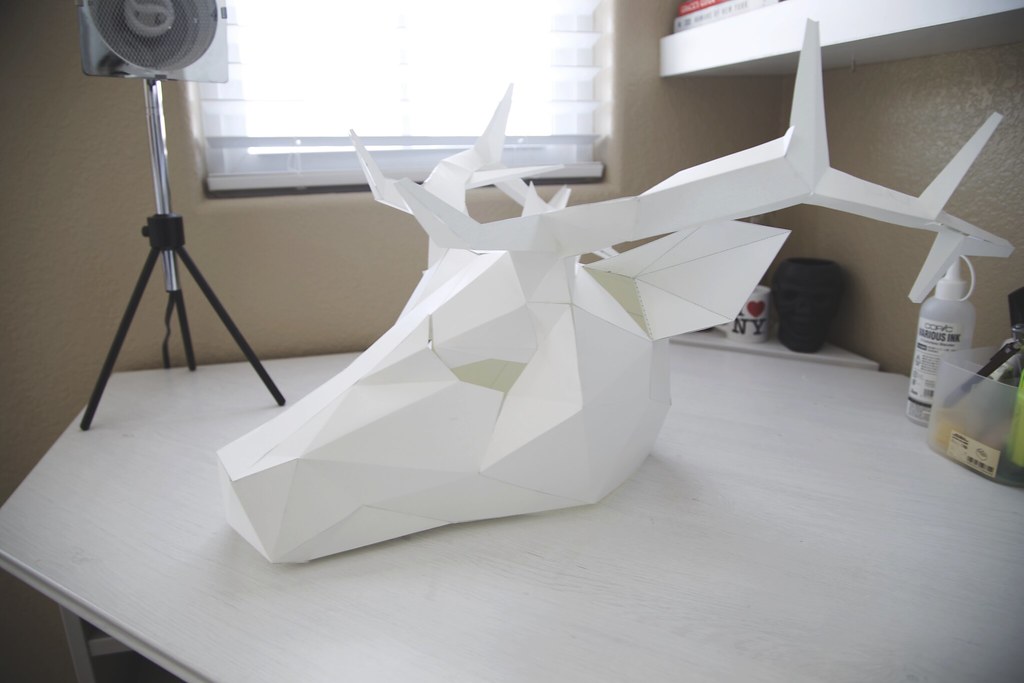
I've bought a few templates from them but today, I'll be showing a quick photoset with the mask that helped give me an A in my 3D Design Class. The Deer/Stag mask was a little challenging to make, but it was so cathartic putting it together and seeing it be built from a 2D design into a 3D one.


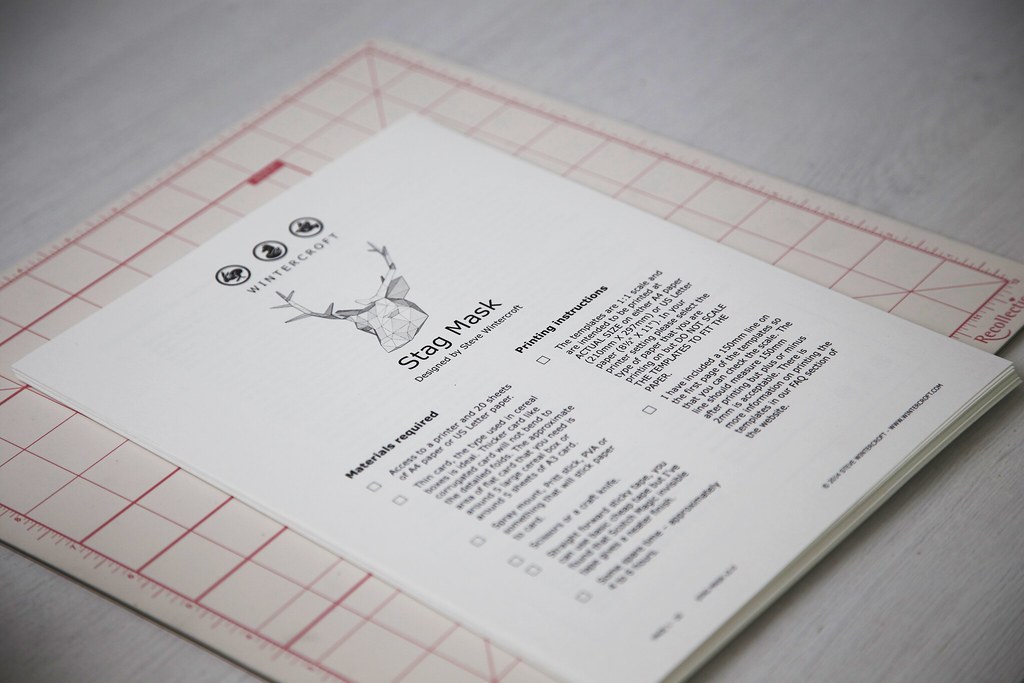
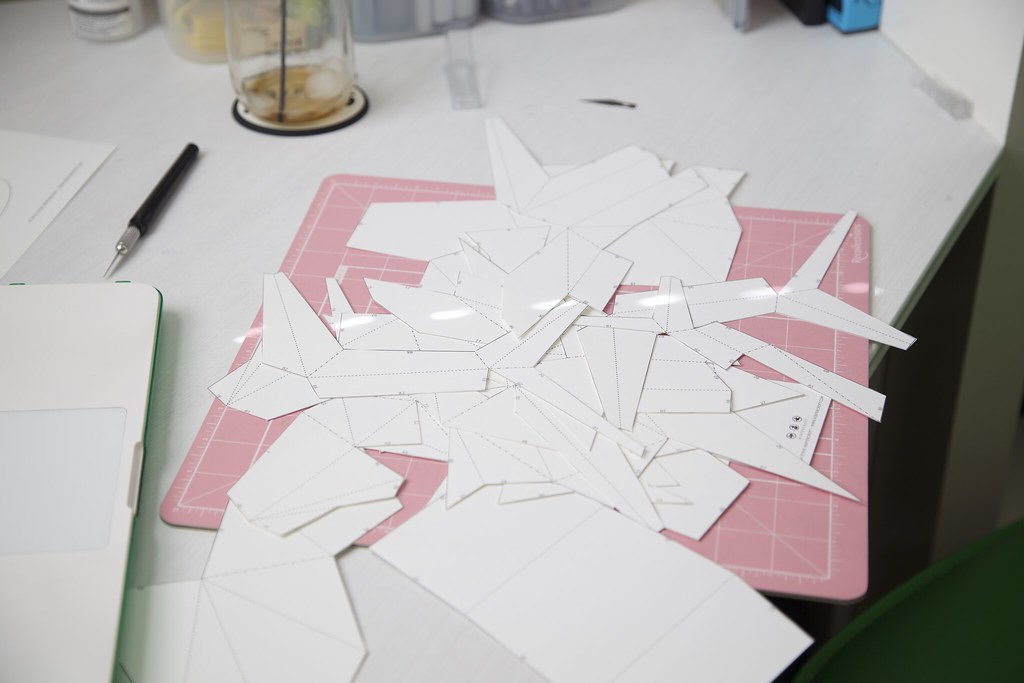
To save time, I printed the template directly onto cardstock. Handy tip, invest in a good cutting board and an X-Acto Knife with a bunch of extra blades.

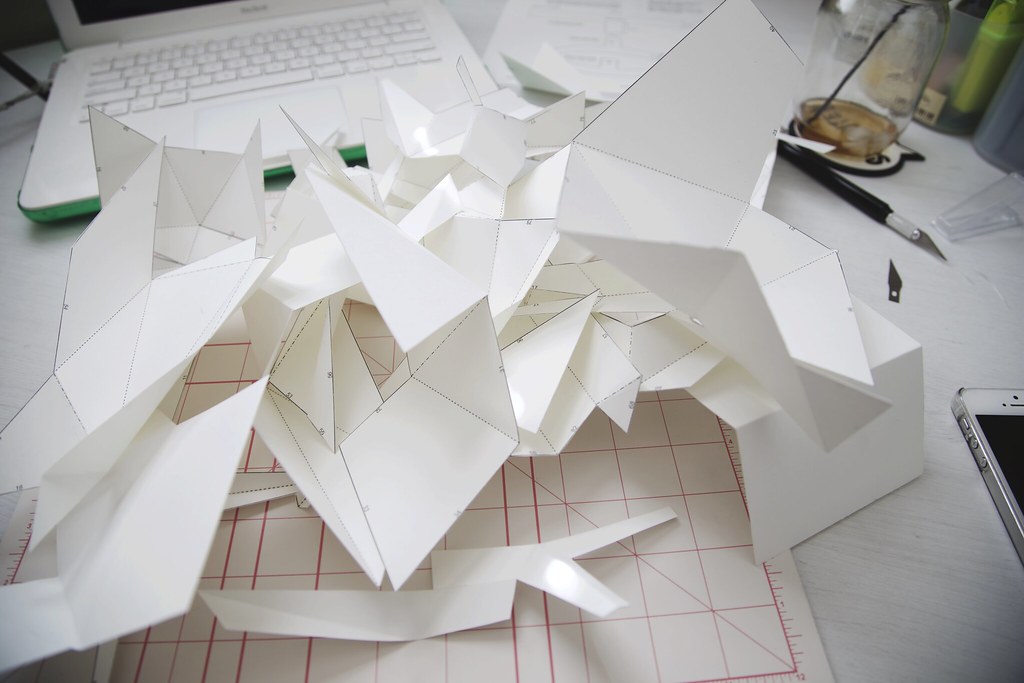
Cutting and scoring along the mountain and valley folds. It looks like a mess at first but trust me on this, once you start matching the numbers up and taping it, it'll come to life right before you. 


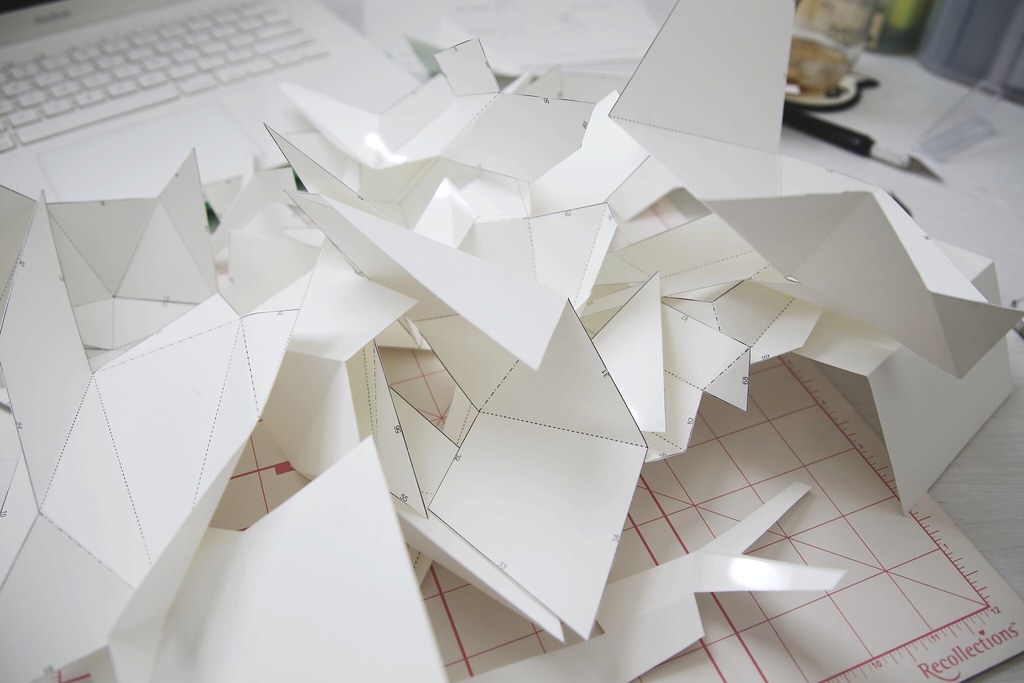
 So from all those scraps of cardboard we had earlier, we get this:


Pretty rad huh? It took me a good 4 hours to construct this; the more tedious you are, the better the results. 

For more information on Wintercroft and where to buy their masks, visit their website right over here.


Tuesday, March 18, 2014

HOWTO: Nutella Crème brûlée

Hey guys! Welcome to the first of however many How To's I'll be doing. Since this is the first post regarding that certain aspect of my blog, why not start it with something I'm sure everyone can do? For today, we'll be making Nutella Crème brûlée. Sounds tough? Think again. Crème brûlée itself is a fairly easy dessert to make, it's just about being patient that makes it a little challenging. To stir things up a bit, I decided to add in Nutella to see how it'll go. That's a decision I really don't regret.

Prep: 5 minutes
Cook time: 45 minutes 

Ingredients! 
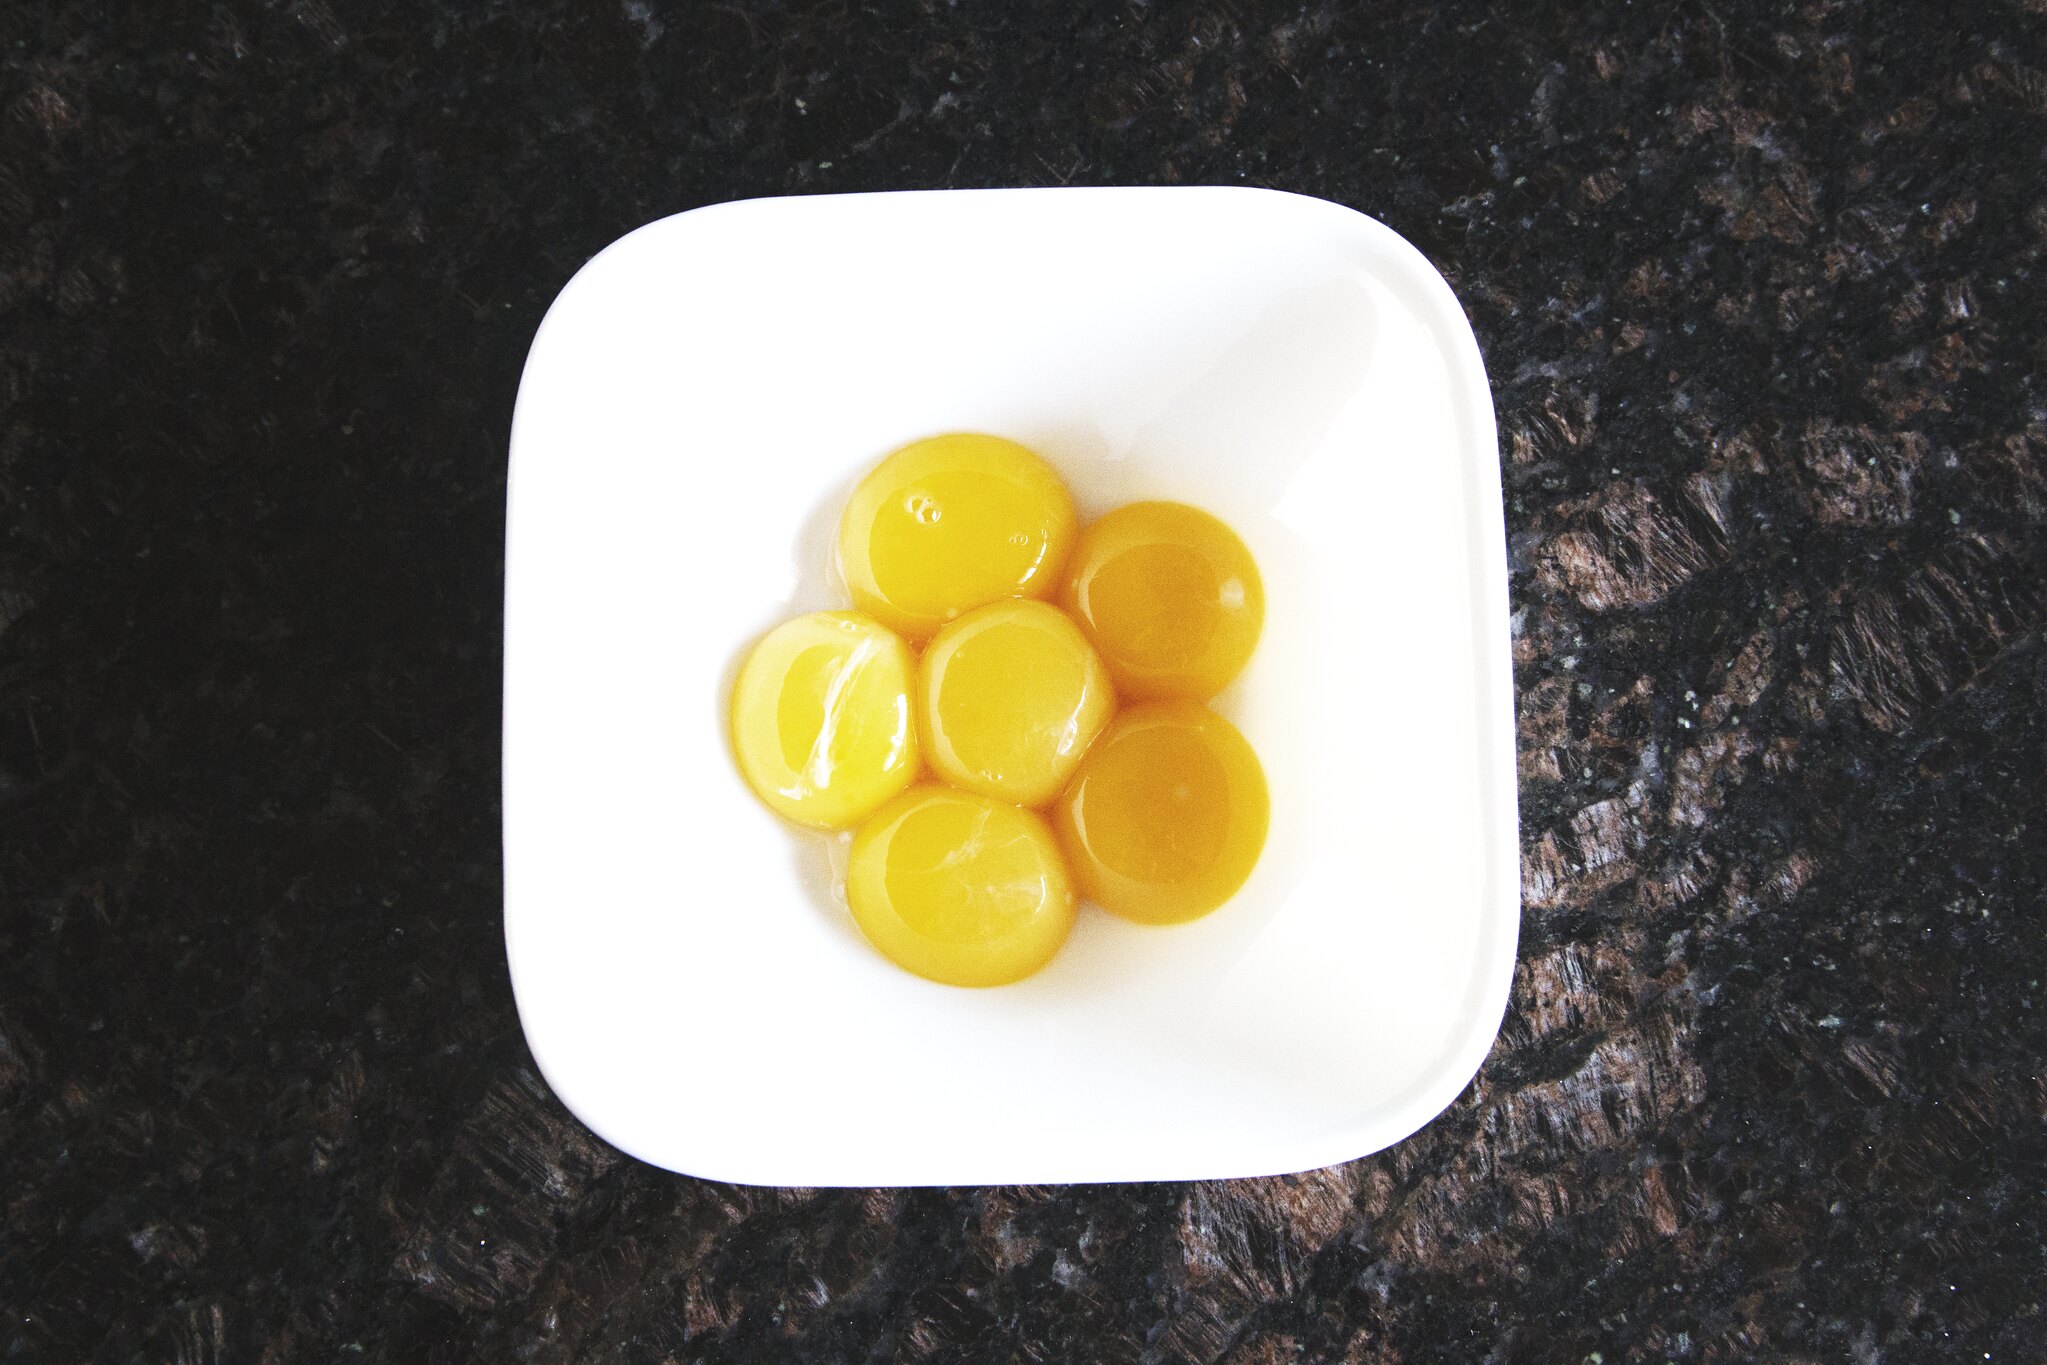
Six large egg yolks. 
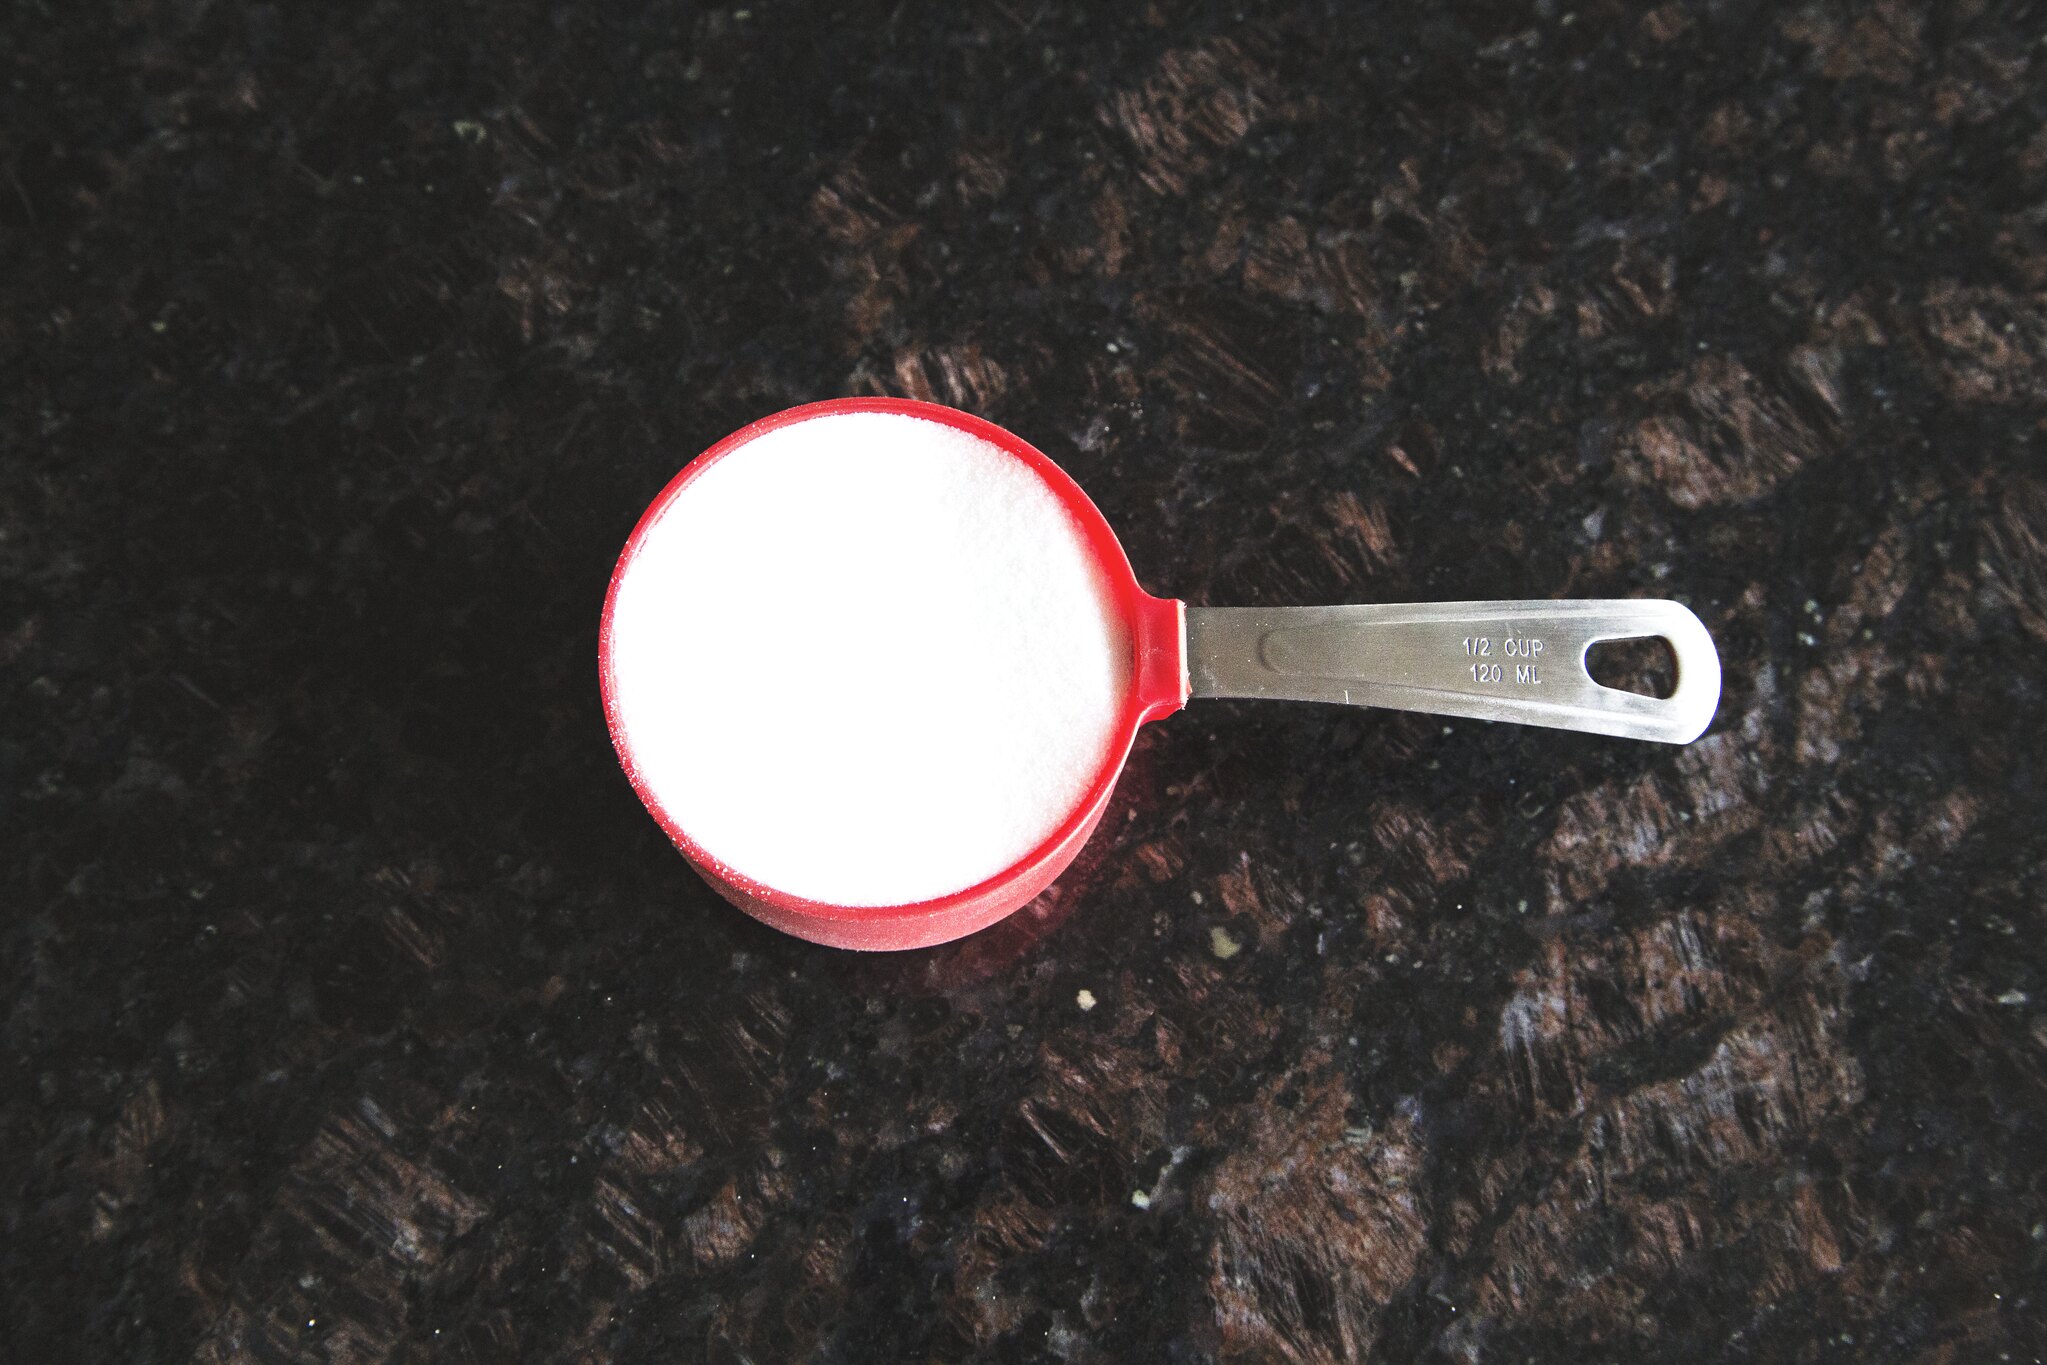
A half-cup of white granulated sugar. 

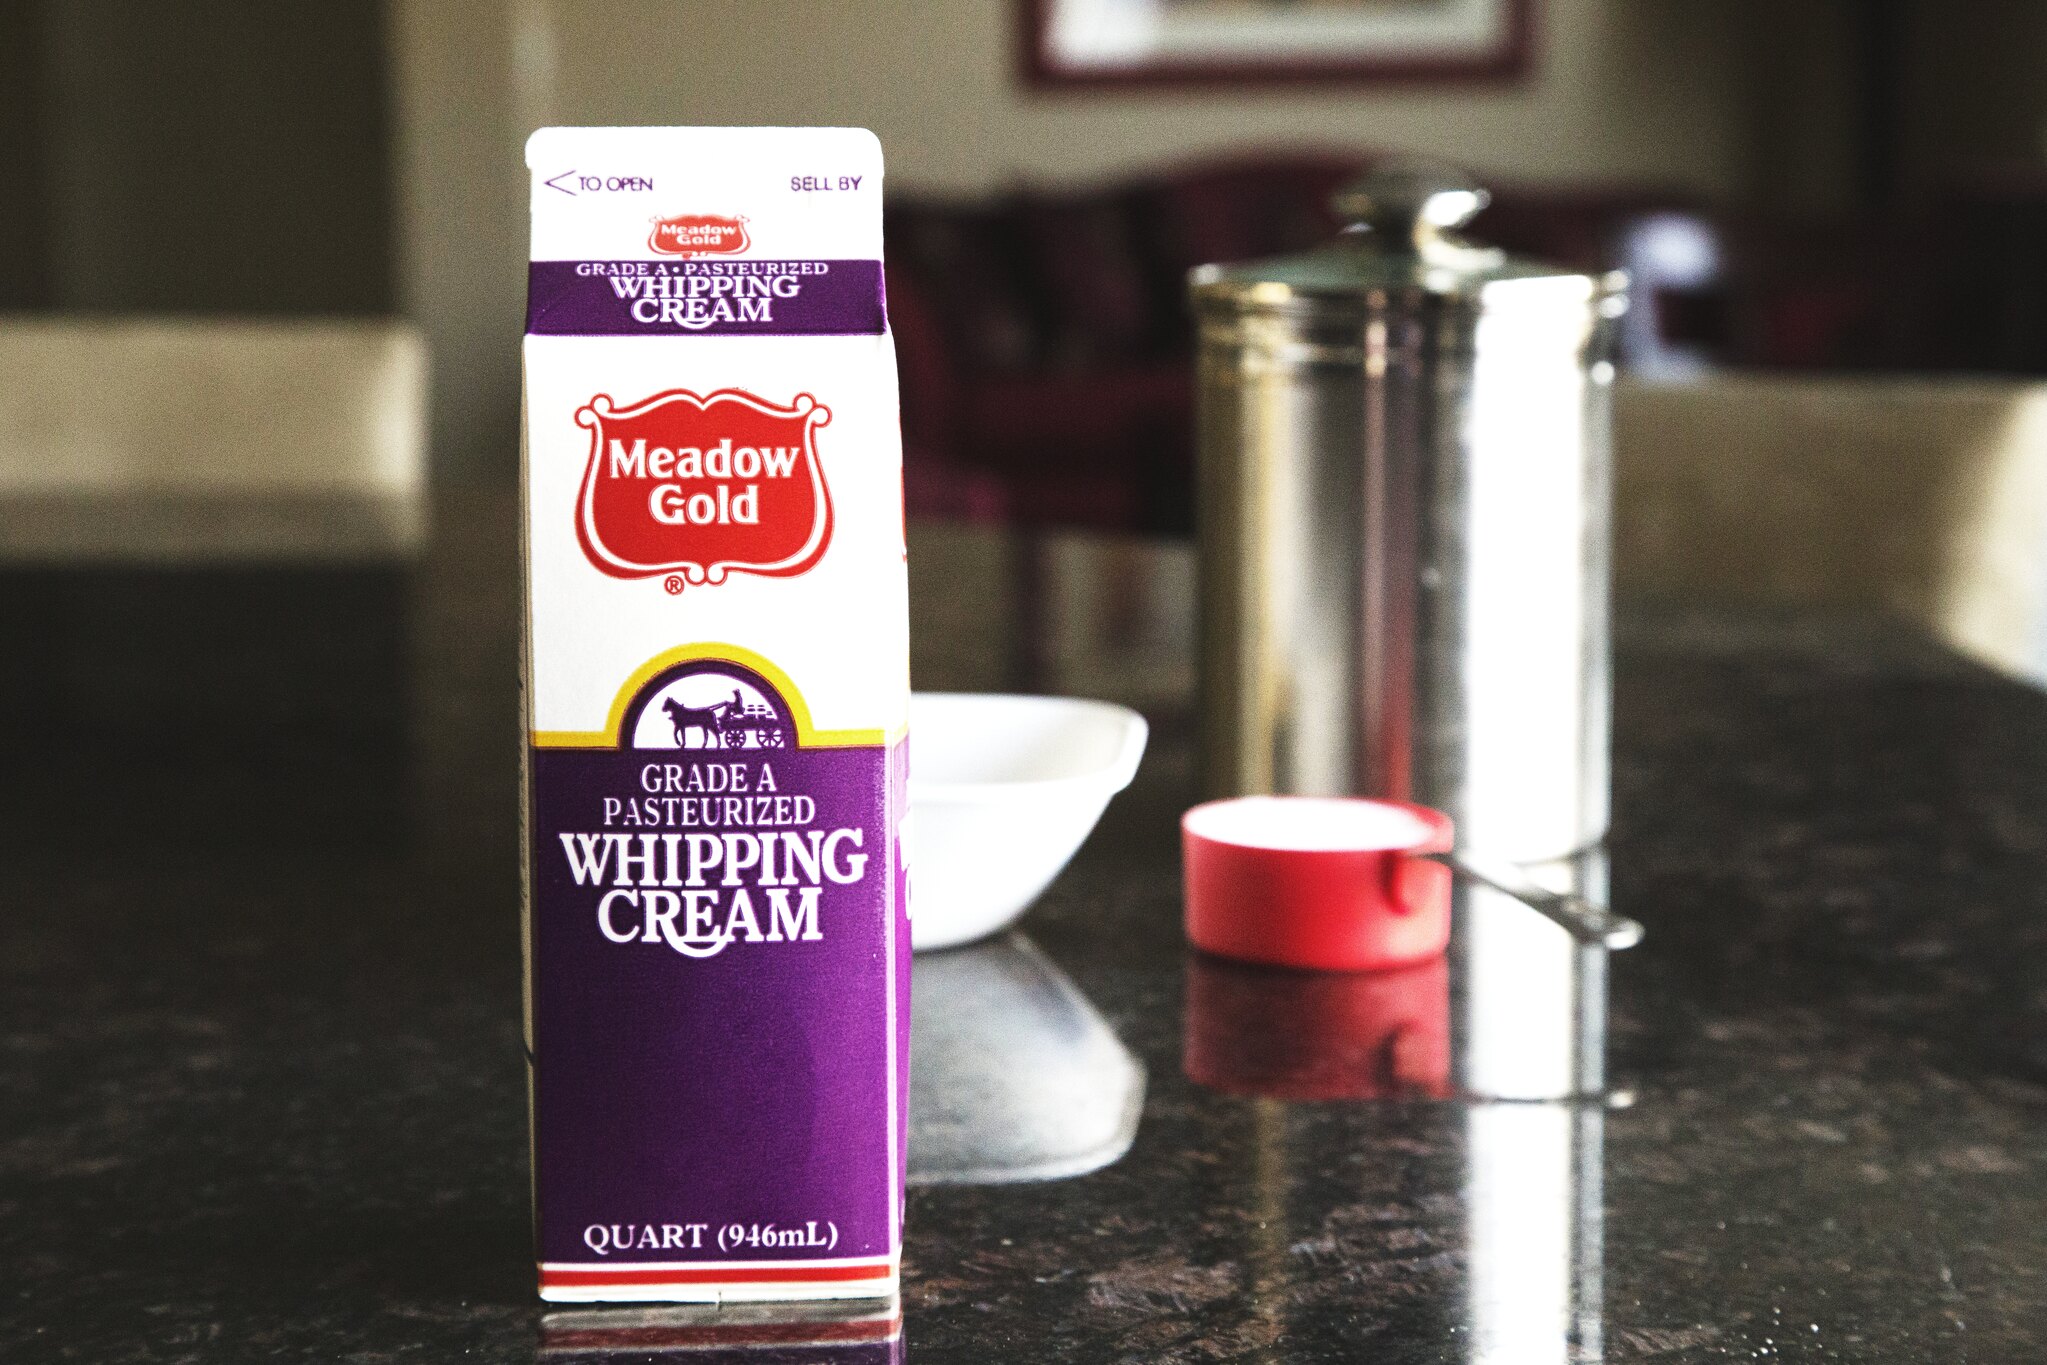
Four cups of Heavy Whipping Cream. I used up the entire box, so that should give you an image on how much you'll need depending on how many you'll be making. Depending on the size of your ramekins, this recipe yields to 12. 

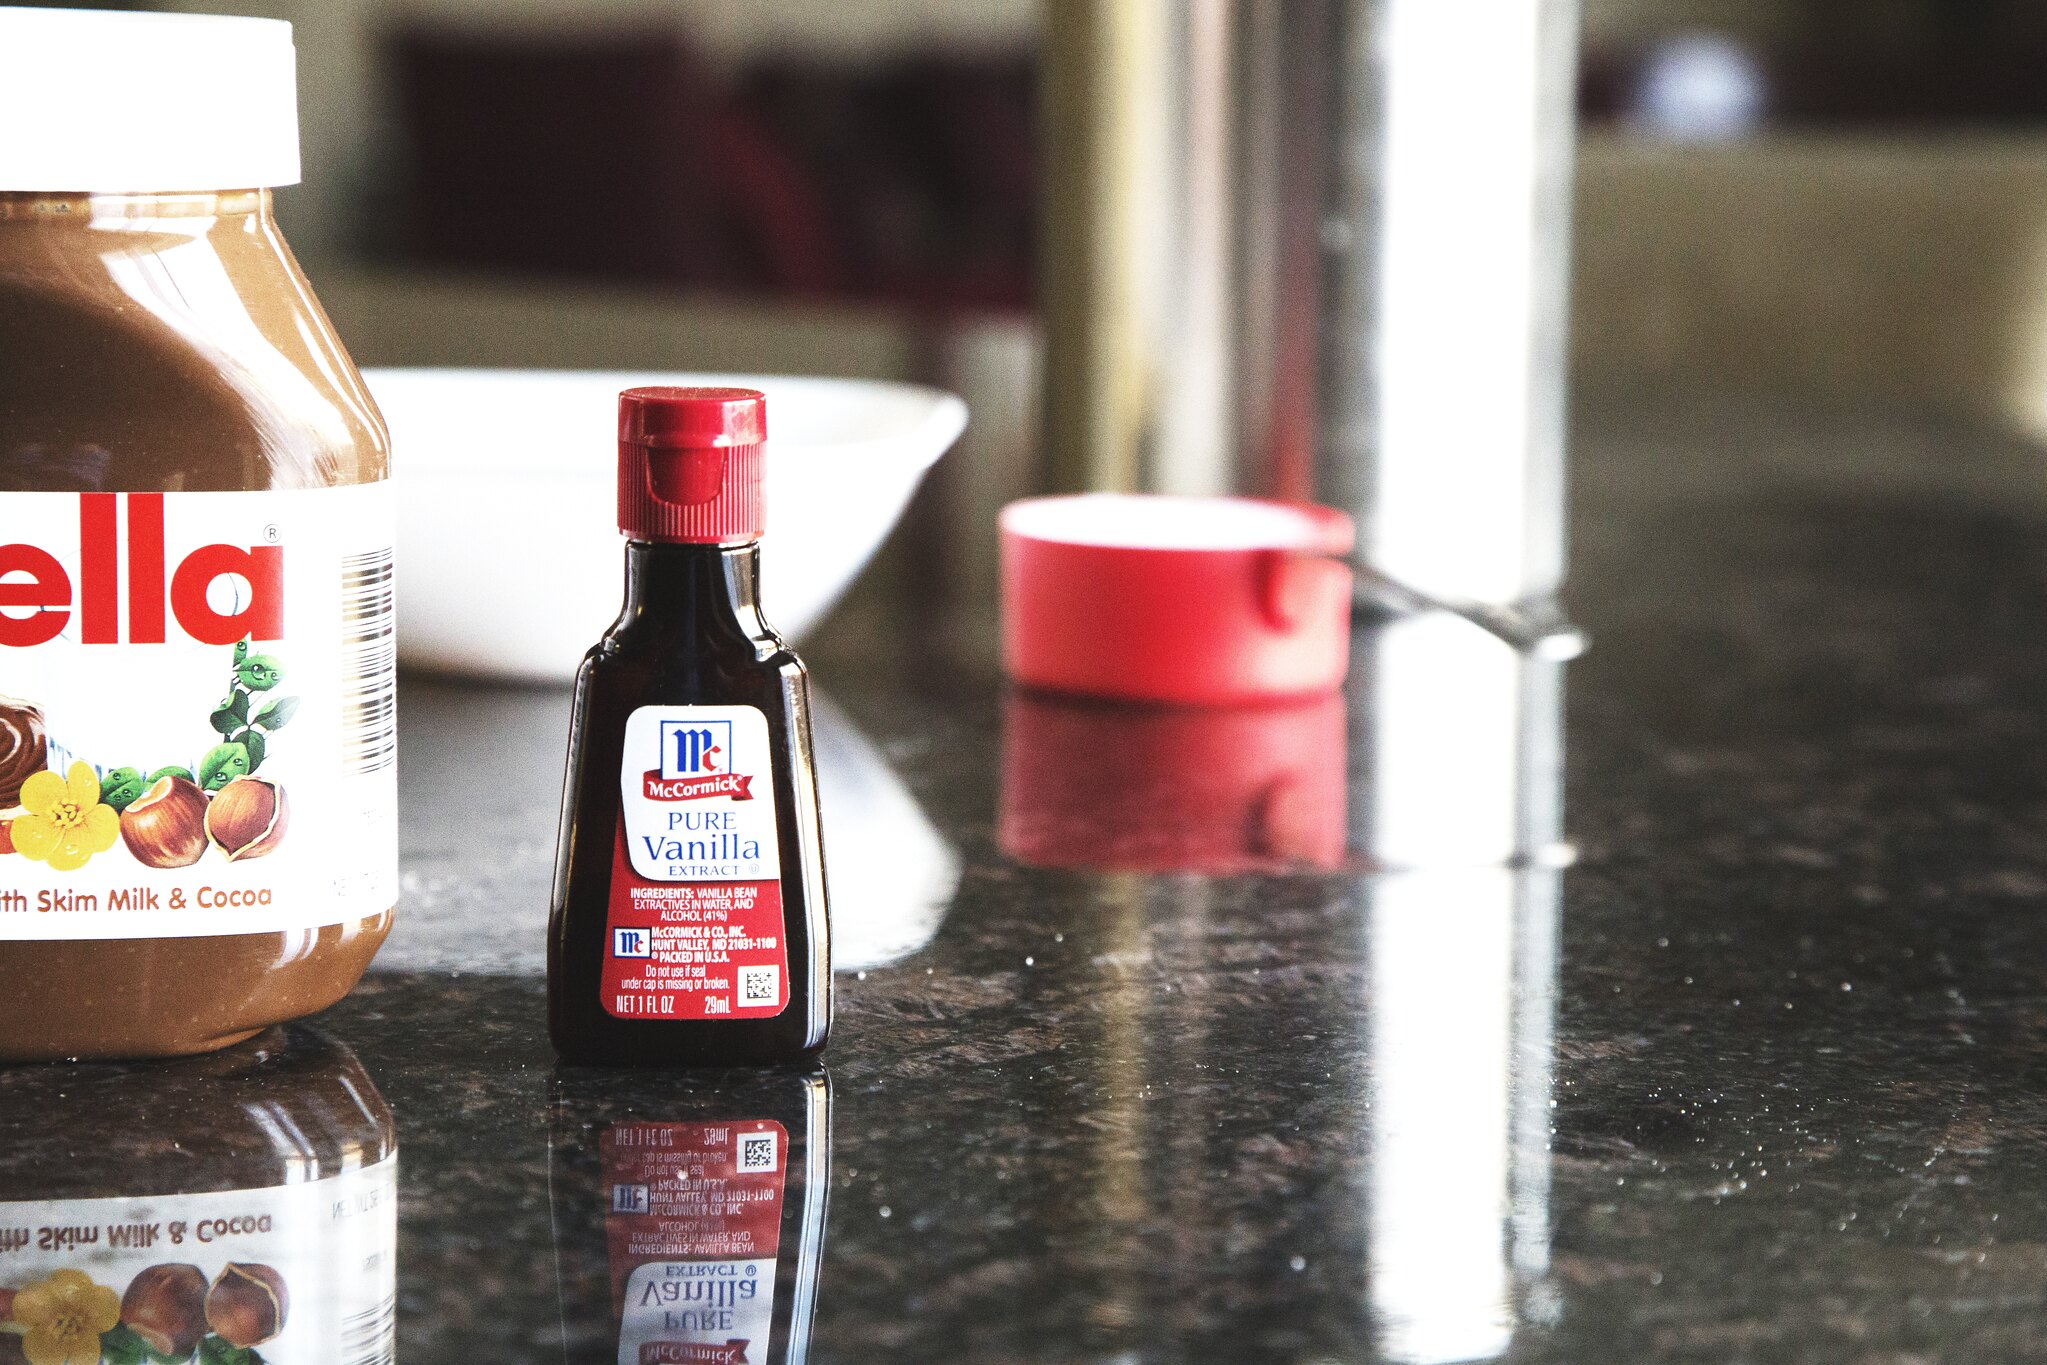
 Two tablespoons of Vanilla Extract.

 A really important aspect of this recipe to is to use Demerara Sugar, which is basically raw sugar crystals. You'll use roughly two to three tablespoons of this for the crust of your Crème brûlée. 

And most importantly, Nutella. Use six tablespoons of this wonderful product. 

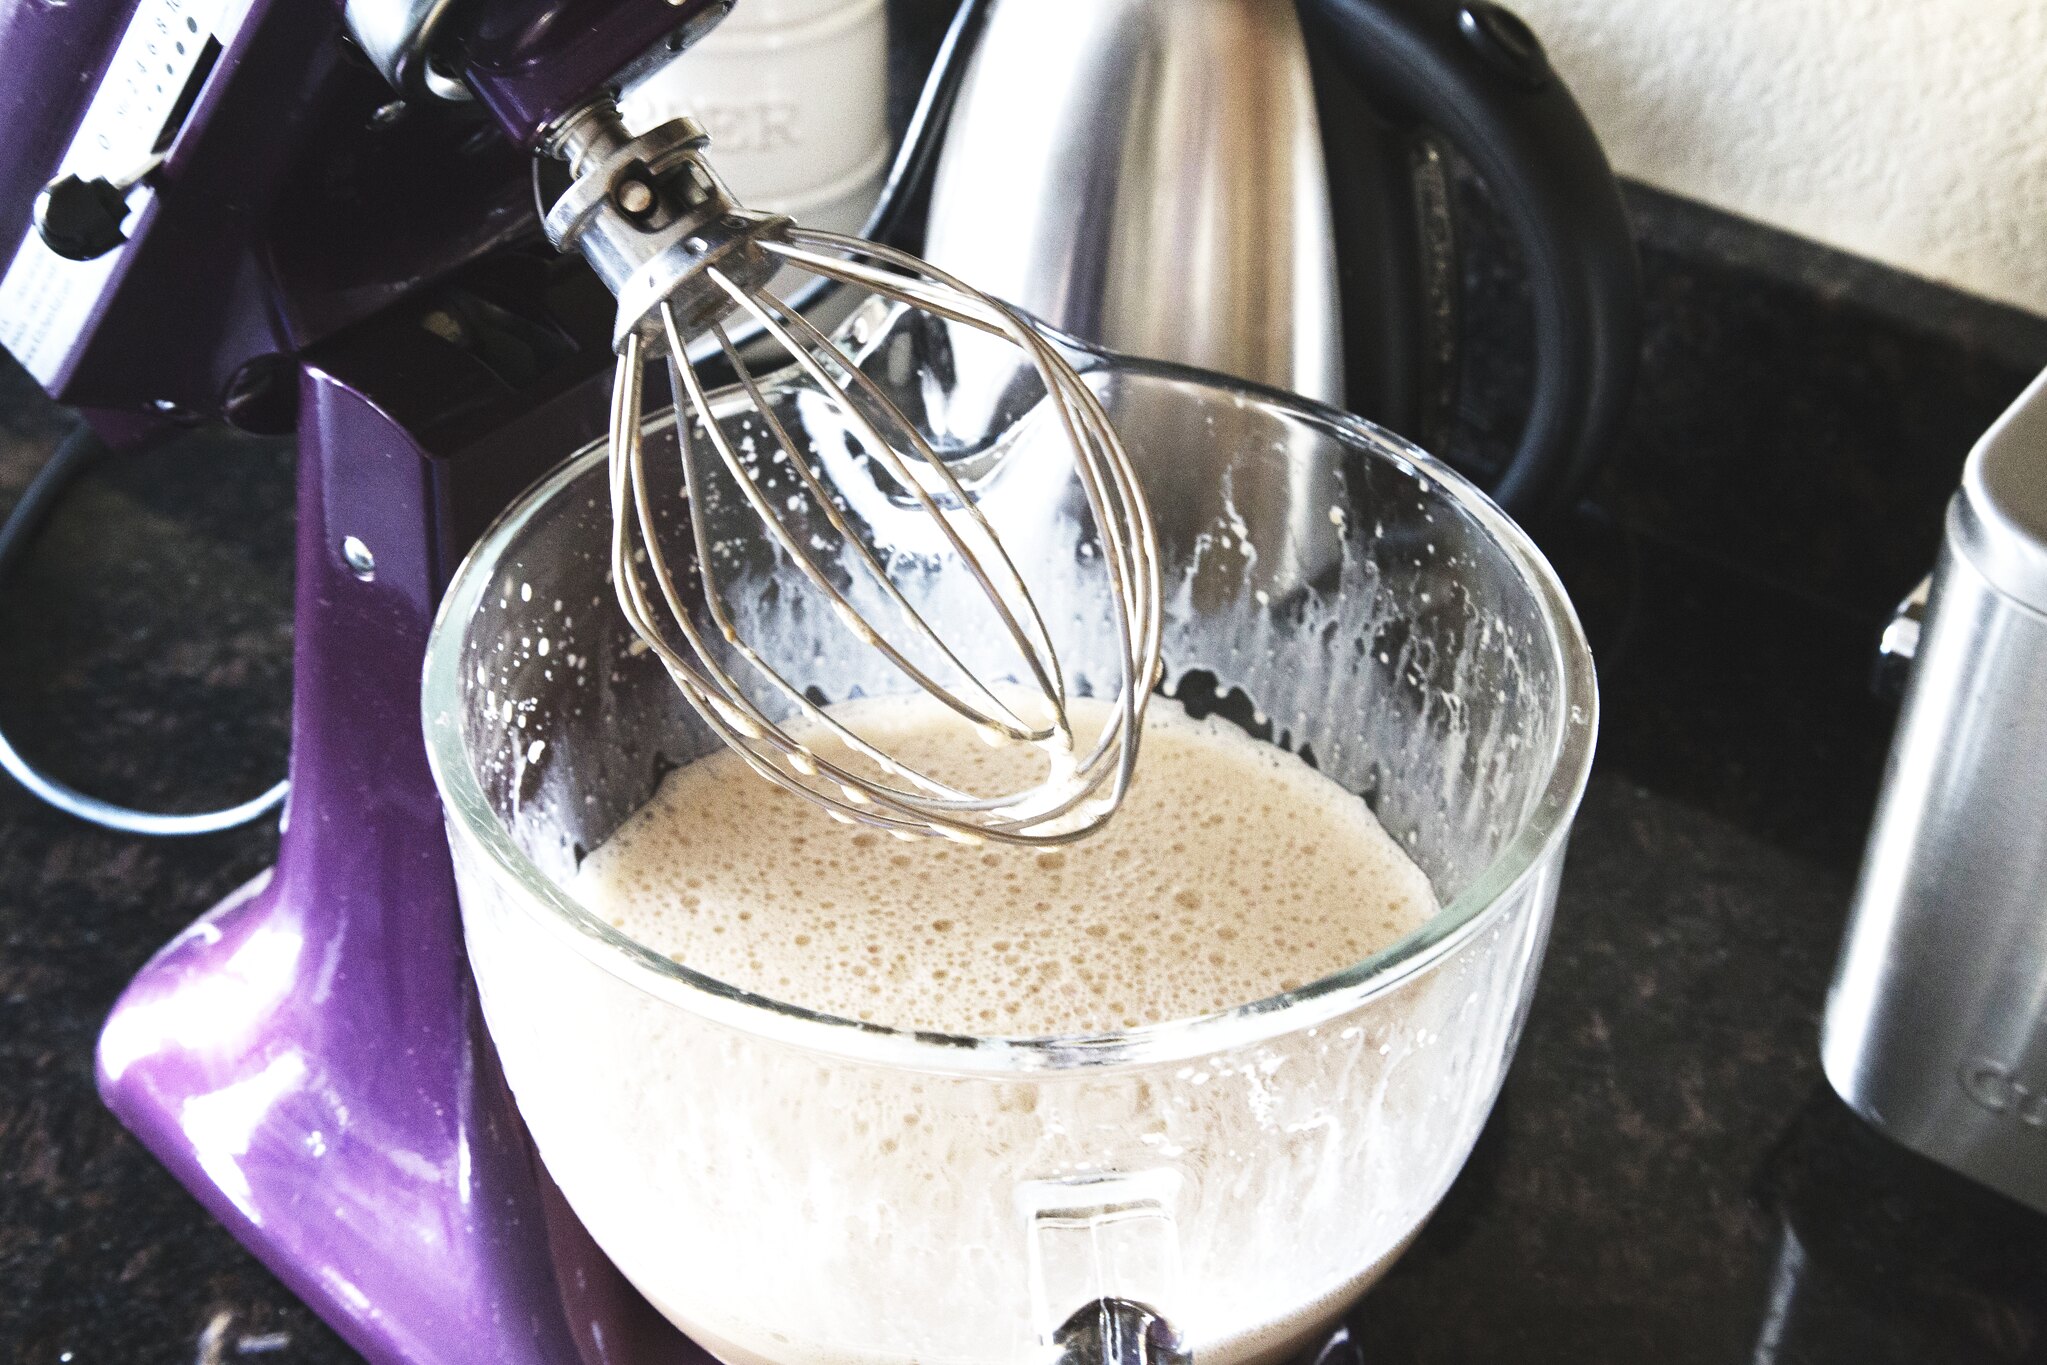
Separate your egg yolks from your egg whites and place them in your mixer, turn the mixer to a low setting and begin dumping in your half cup of sugar. Be sure to space this out evenly to avoid over mixing. As you pour more sugar in, be sure to increase the speed as well. This roughly takes a good three or four minutes, so be watchful of your mixer! Afterwards, in a medium saucepan pour in your four cups of heavy whipping cream and two tablespoons of vanilla extract. Bring to a simmer, but be careful to not let it boil; we don't want our cream to curdle. 

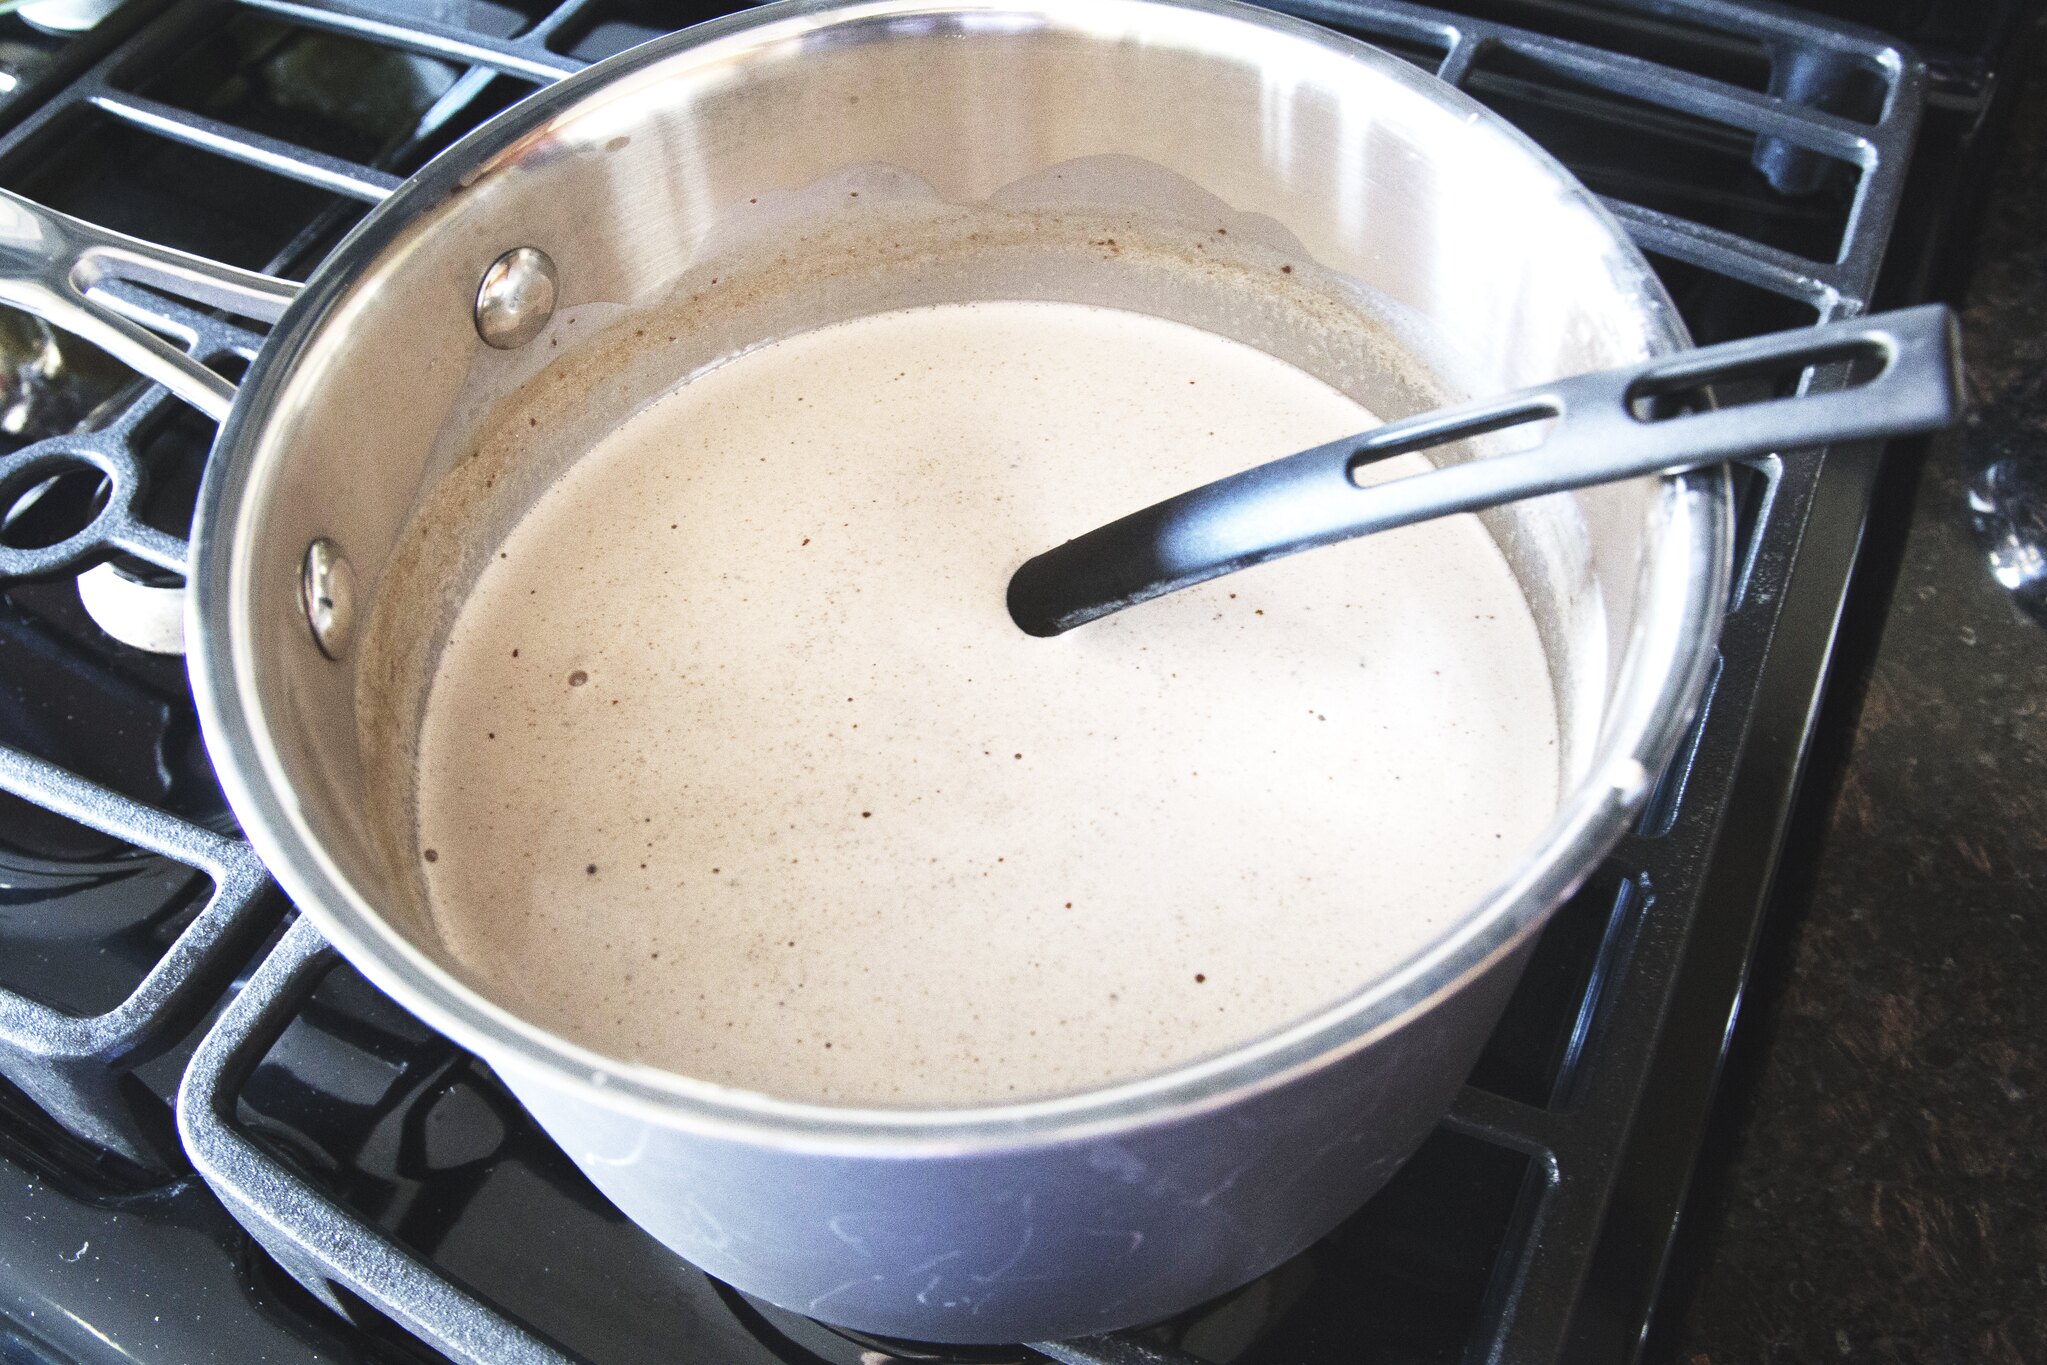
After bubbles start to form around the edges, that's your signal when to put in six tablespoons of Nutella. Mix it thoroughly to make sure it is evenly combined and melted. 

Once the Nutella and heavy cream mixture have combined, slowly pour it into the yolk and sugar mixture. You want to temper the egg yolks, so slowly pour it in instead of completely drowning them all at once. 

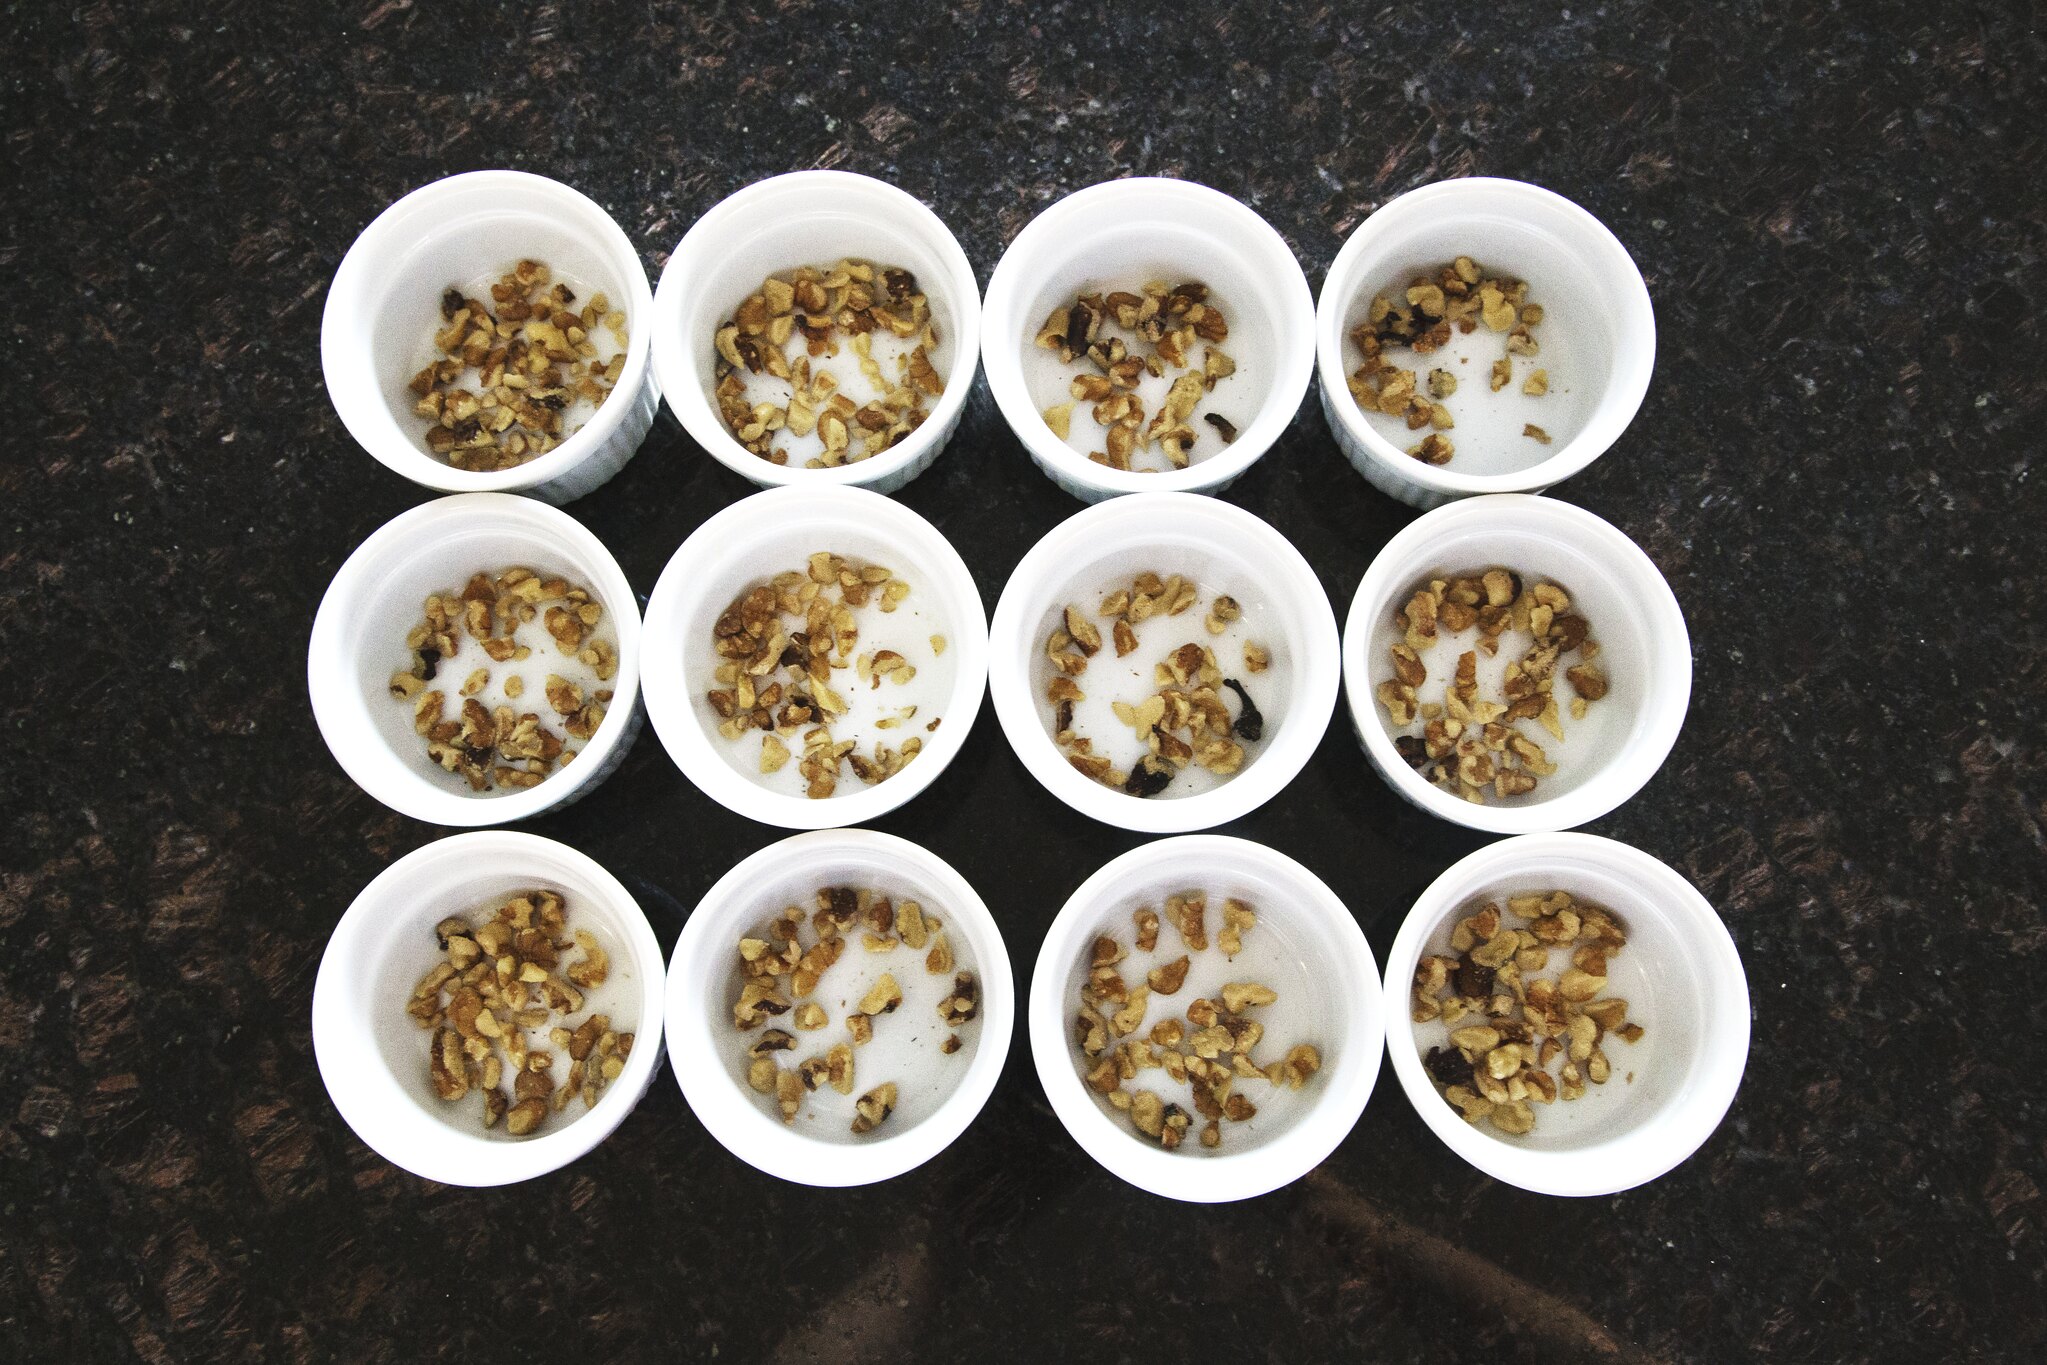
Now this part is completely optional. I lined the bottom of my ramekins with toasted walnuts to add in a bit of crunch to these Crème brûlées. Roughly around one tablespoon per each ramekin. 

Preheat your oven to 350 degrees Fahrenheit (177 degrees Celsius). Pour in your mixture into the walnut lined ramekins and cover each one with a square sized sheet of foil. Place your ramekins in a container that is taller than them, then pour in warm water about halfway the ramekins. Cover the container with foil and place it in your oven for 45 minutes. 

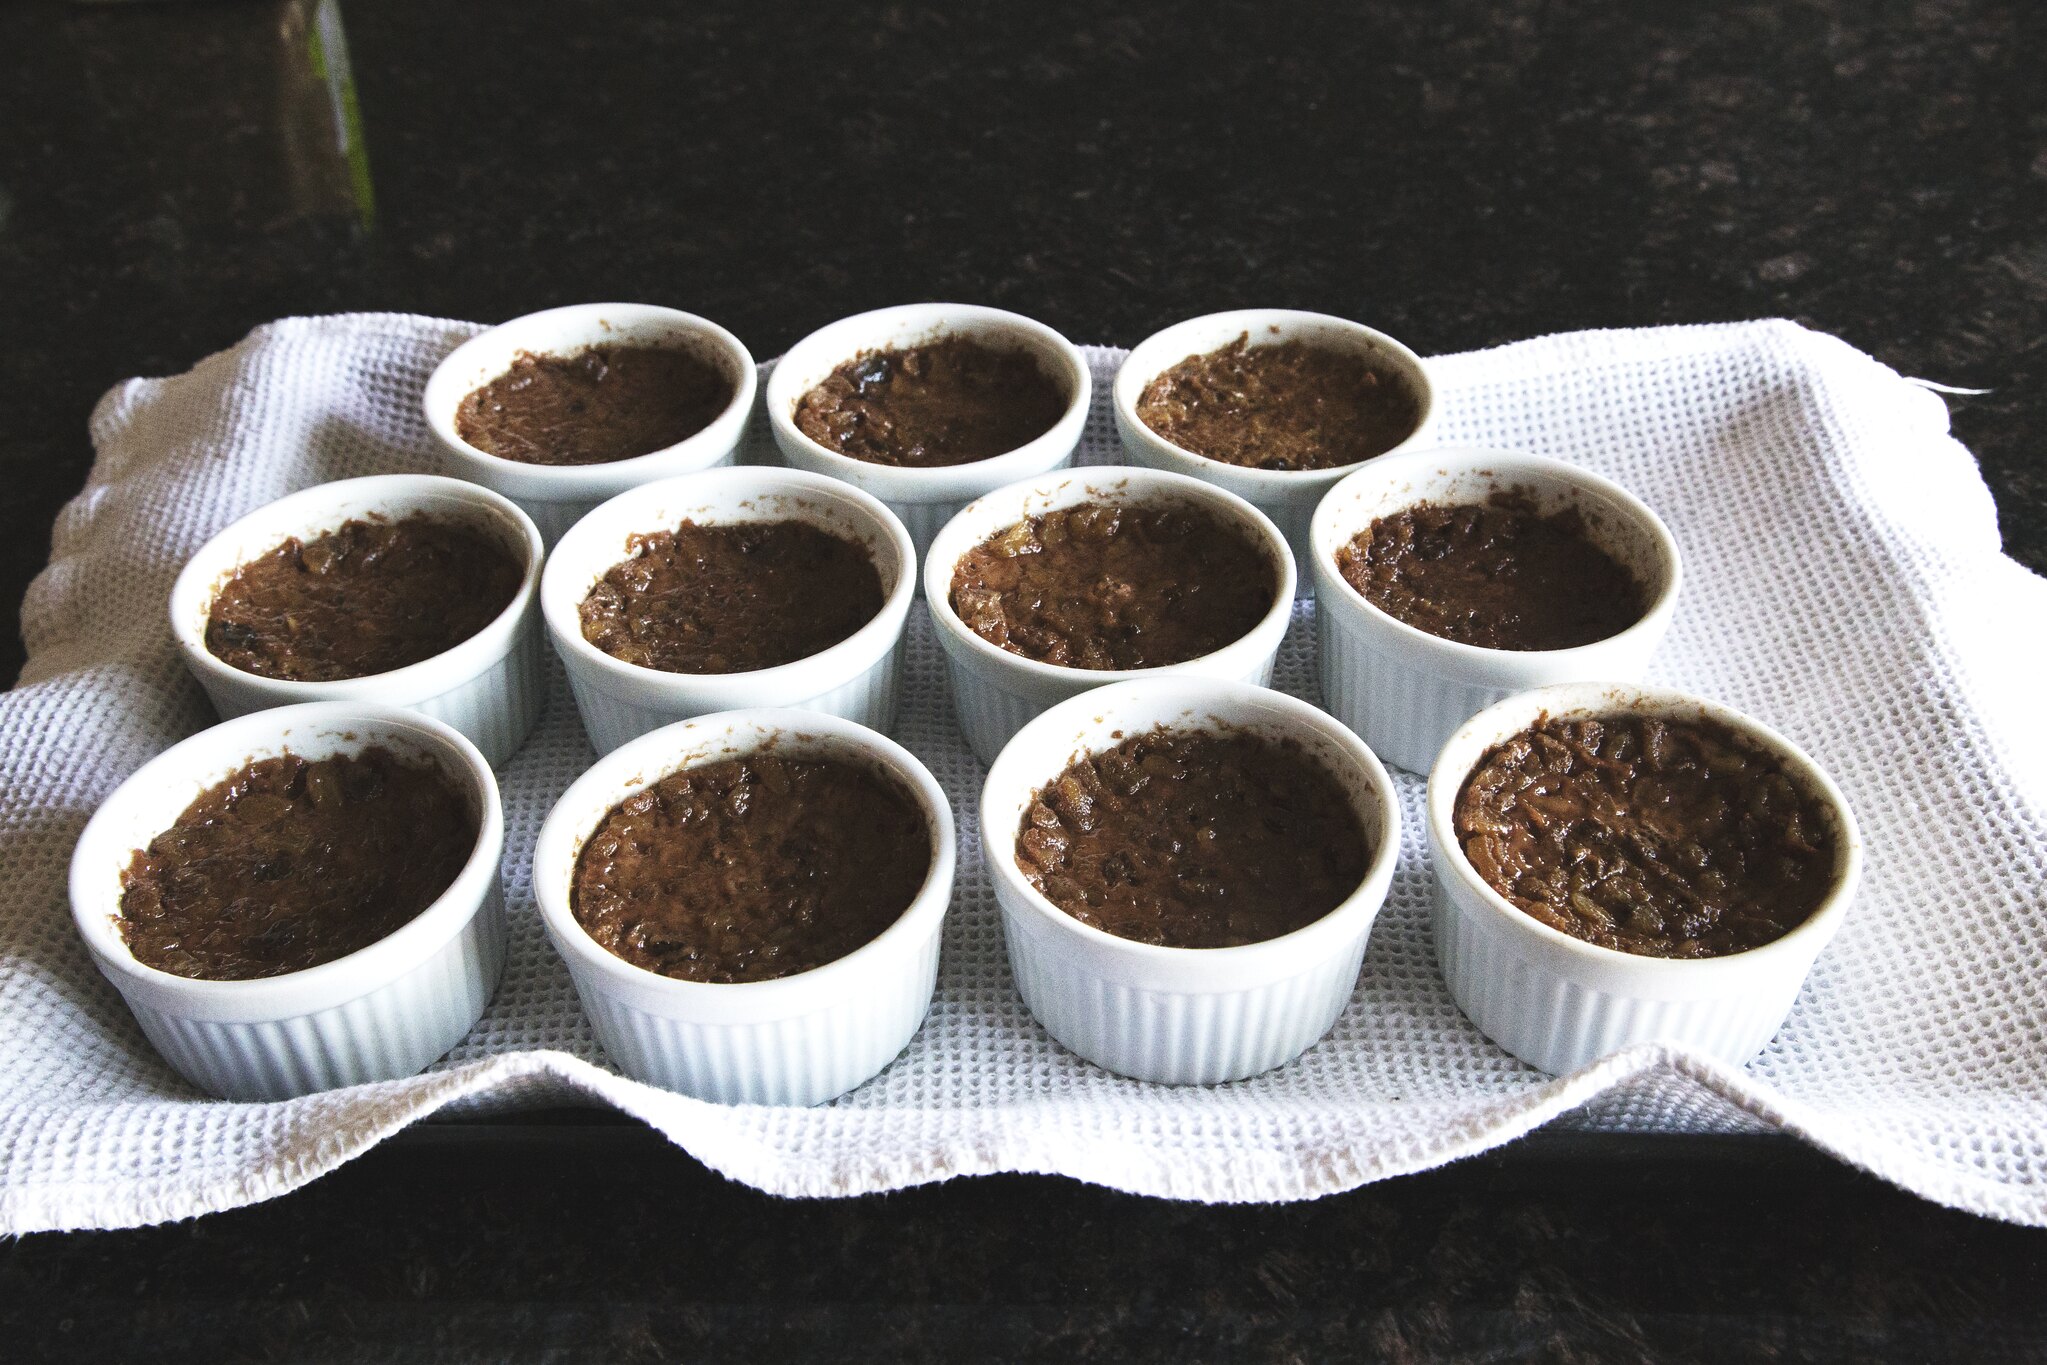
After 45 minutes, your HOWTO: Nutella Crème brûlées are halfway ready! They should look like little wet souffles, but don't be afraid! After getting them out of the oven, remove the foil and place them in the fridge for the next 2-3 hours in order for them to rest, and for them to set. You might be wondering, why are there only 11 in this picture and 12 in the other? Unfortunately, one didn't turn out so well so I left it out. 


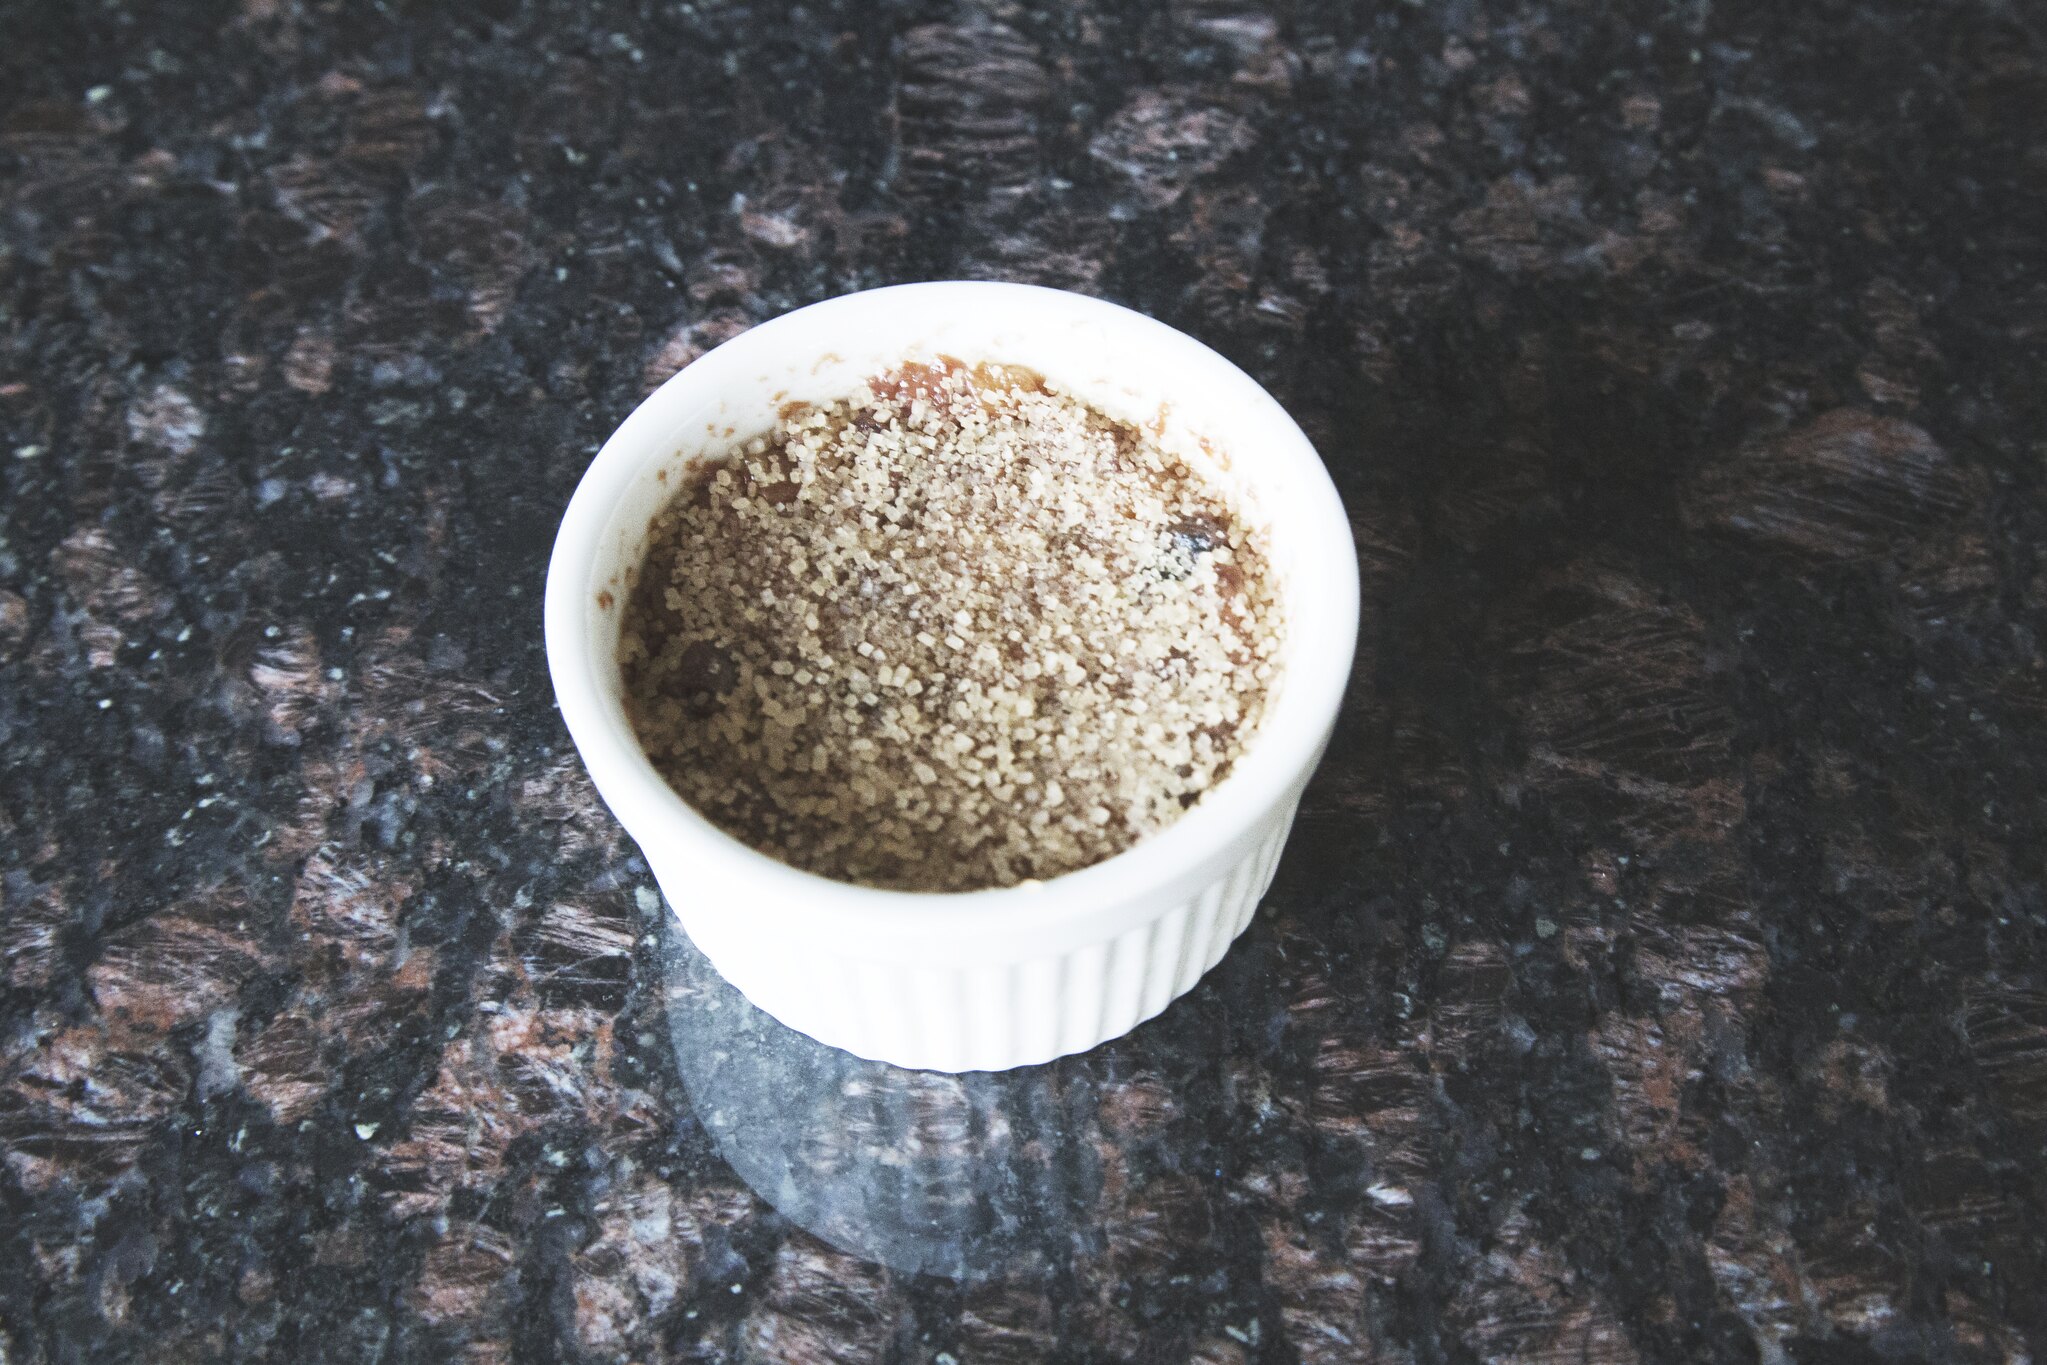
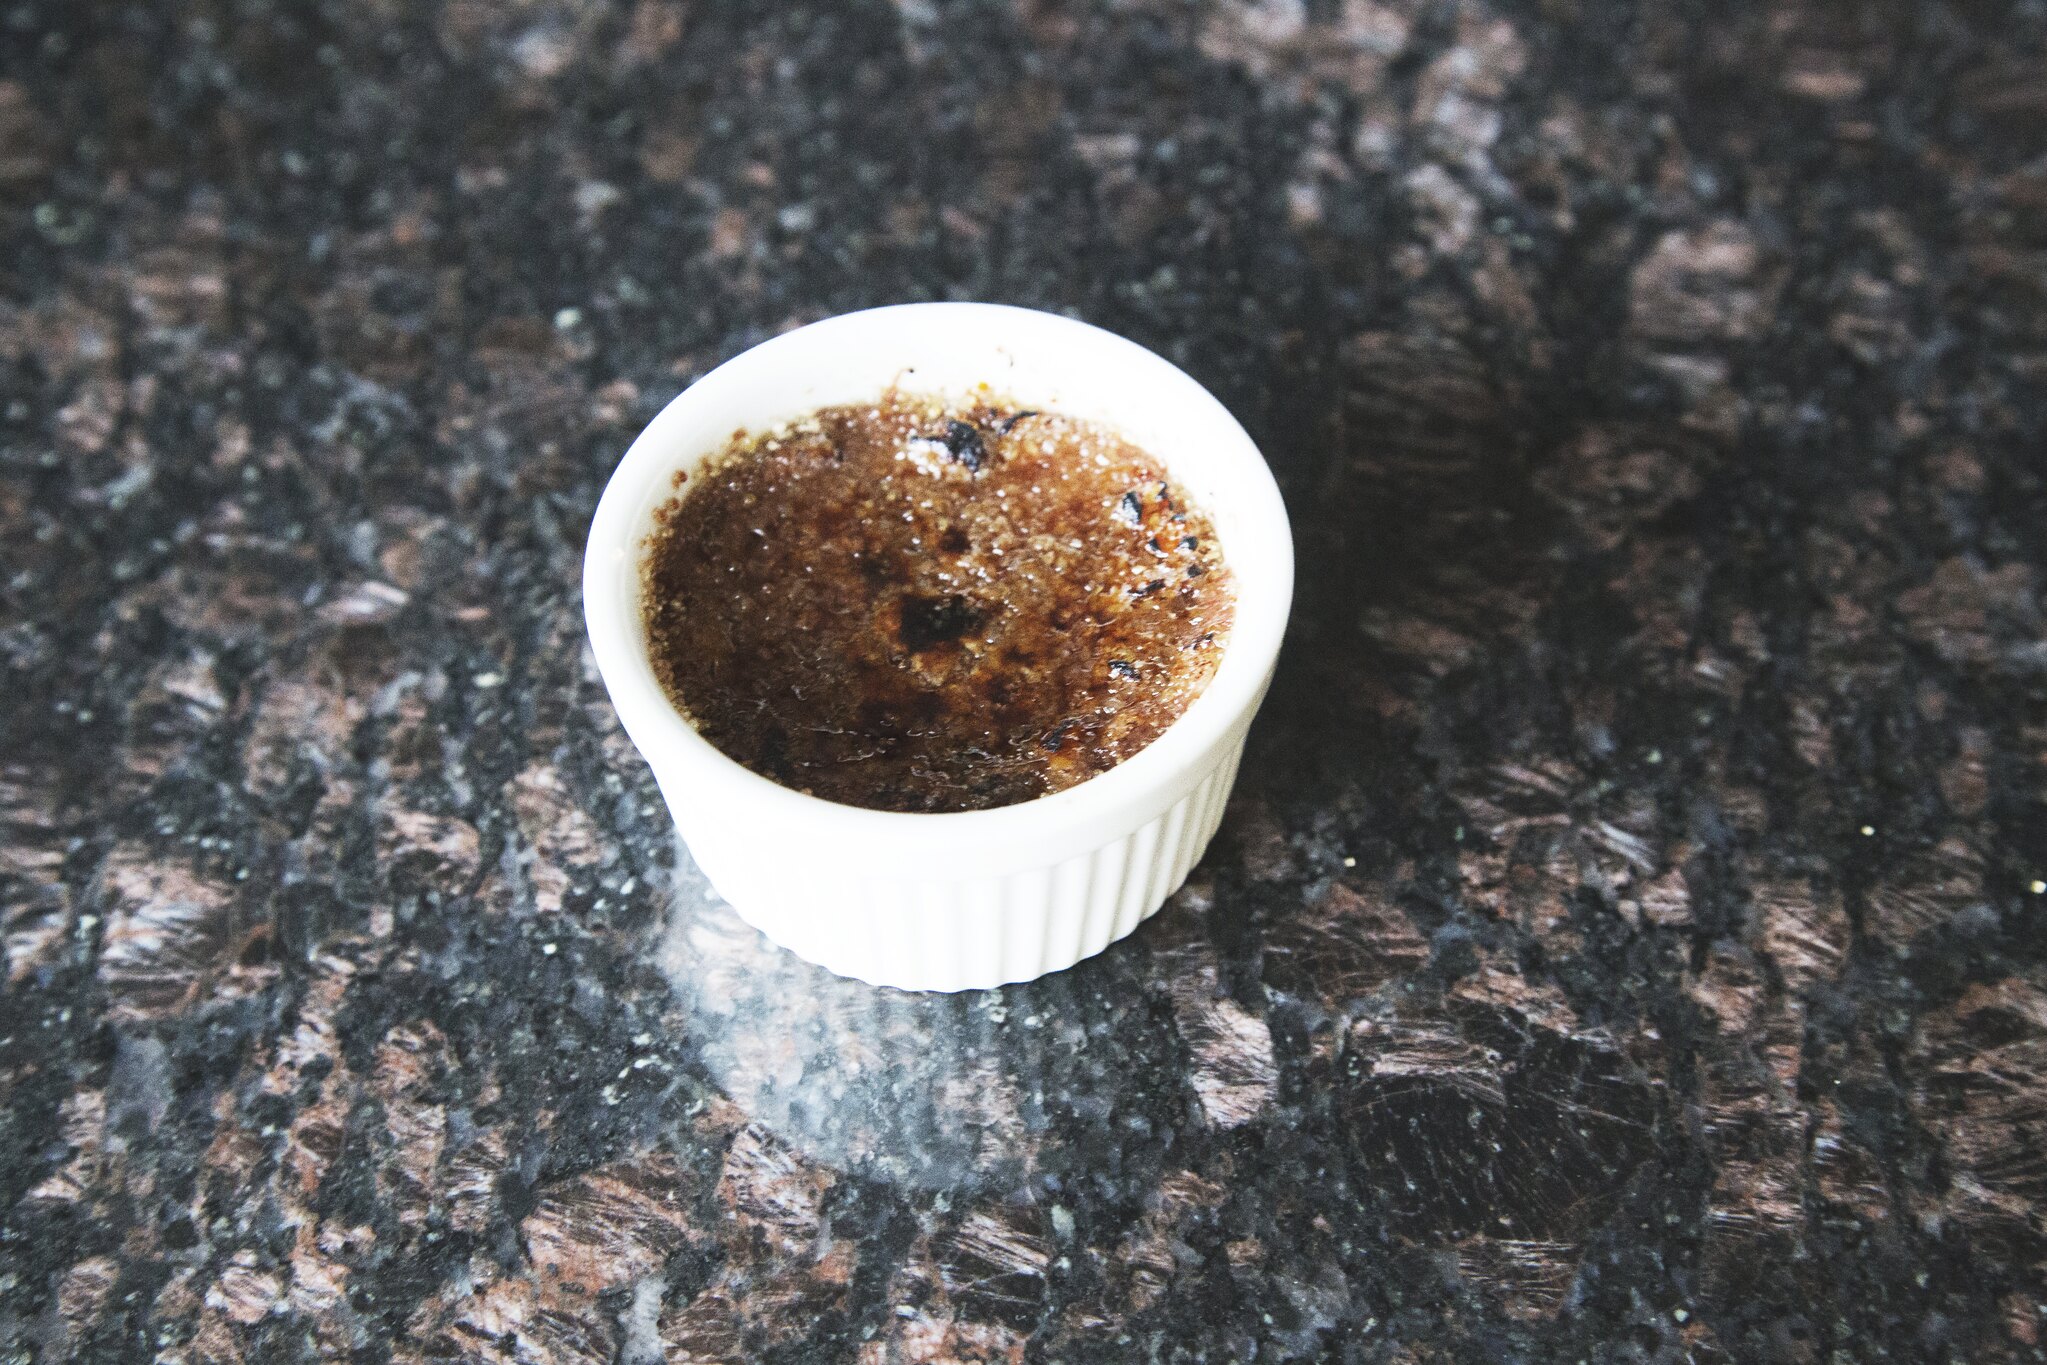
Here's where the Demerara Sugar comes in handy! Regular Crème brûlée calls for white granulated sugar as the crust, but for this one I decided to try something new. Demerara sugar has a higher melting point since it is in it's rock form. When I torched it, it took longer than usual to melt and caramelize. The rocks turned from a light maple brown color to a white, then to it's melted caramel-brown color.

Garnish with sliced strawberries or whatever fruit you like Nutella with. Most importantly, enjoy yourself! 

Thanks for reading, and do comment if you enjoyed making this recipe, or if you have any suggestions for me!